Step 1: MediaConvert Job Setup
Lab Introduction
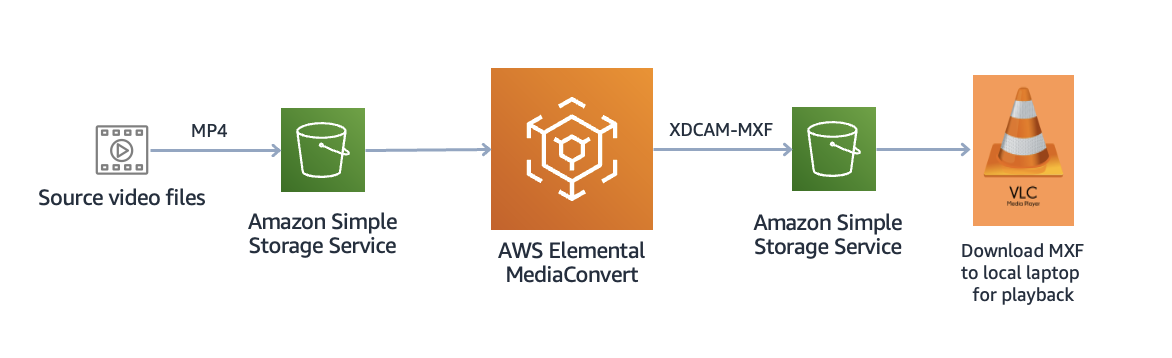
In this AWS Elemental MediaConvert lab, we will go through setting up a MediaConvert encode profile to transcode a MP4 media file to a Sony XDCAM 422 50mbps MXF file for a broadcast style workflow. The below diagram represents the lab you are about to build.
Getting started with AWS Elemental MediaConvert
AWS Elemental MediaConvert transcodes your input files to generate output files. MediaConvert can take in your input files from Amazon S3 or from a server through the HTTP or HTTPS protocols. For your output locations, MediaConvert writes to your specified Amazon S3 bucket.

Create MediaConvert job
Now we’re going to create a MediaConvert job.
First we will add the Input, then we will add the Output Group using a Output preset System-Xdcam_HD422_1080i_29_97fps and create a broadcast mezzanine MXF output.
- 1920 x 1080i 29.97fps @ CBR 50 Mbps
Step-by-step Instructions
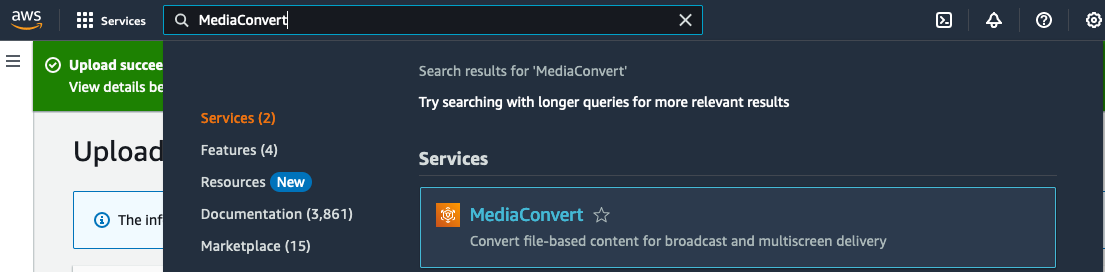
- In the AWS console, navigate to the MediaConvert service. From the top left Services Search bar type Media Convert, select the MediaConvert service option.
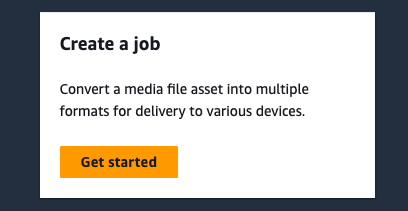
- Now lets create a transcode job, select Get started, this will open the Create job page.
- Select Input 1 on the left side Job panel to open the options.
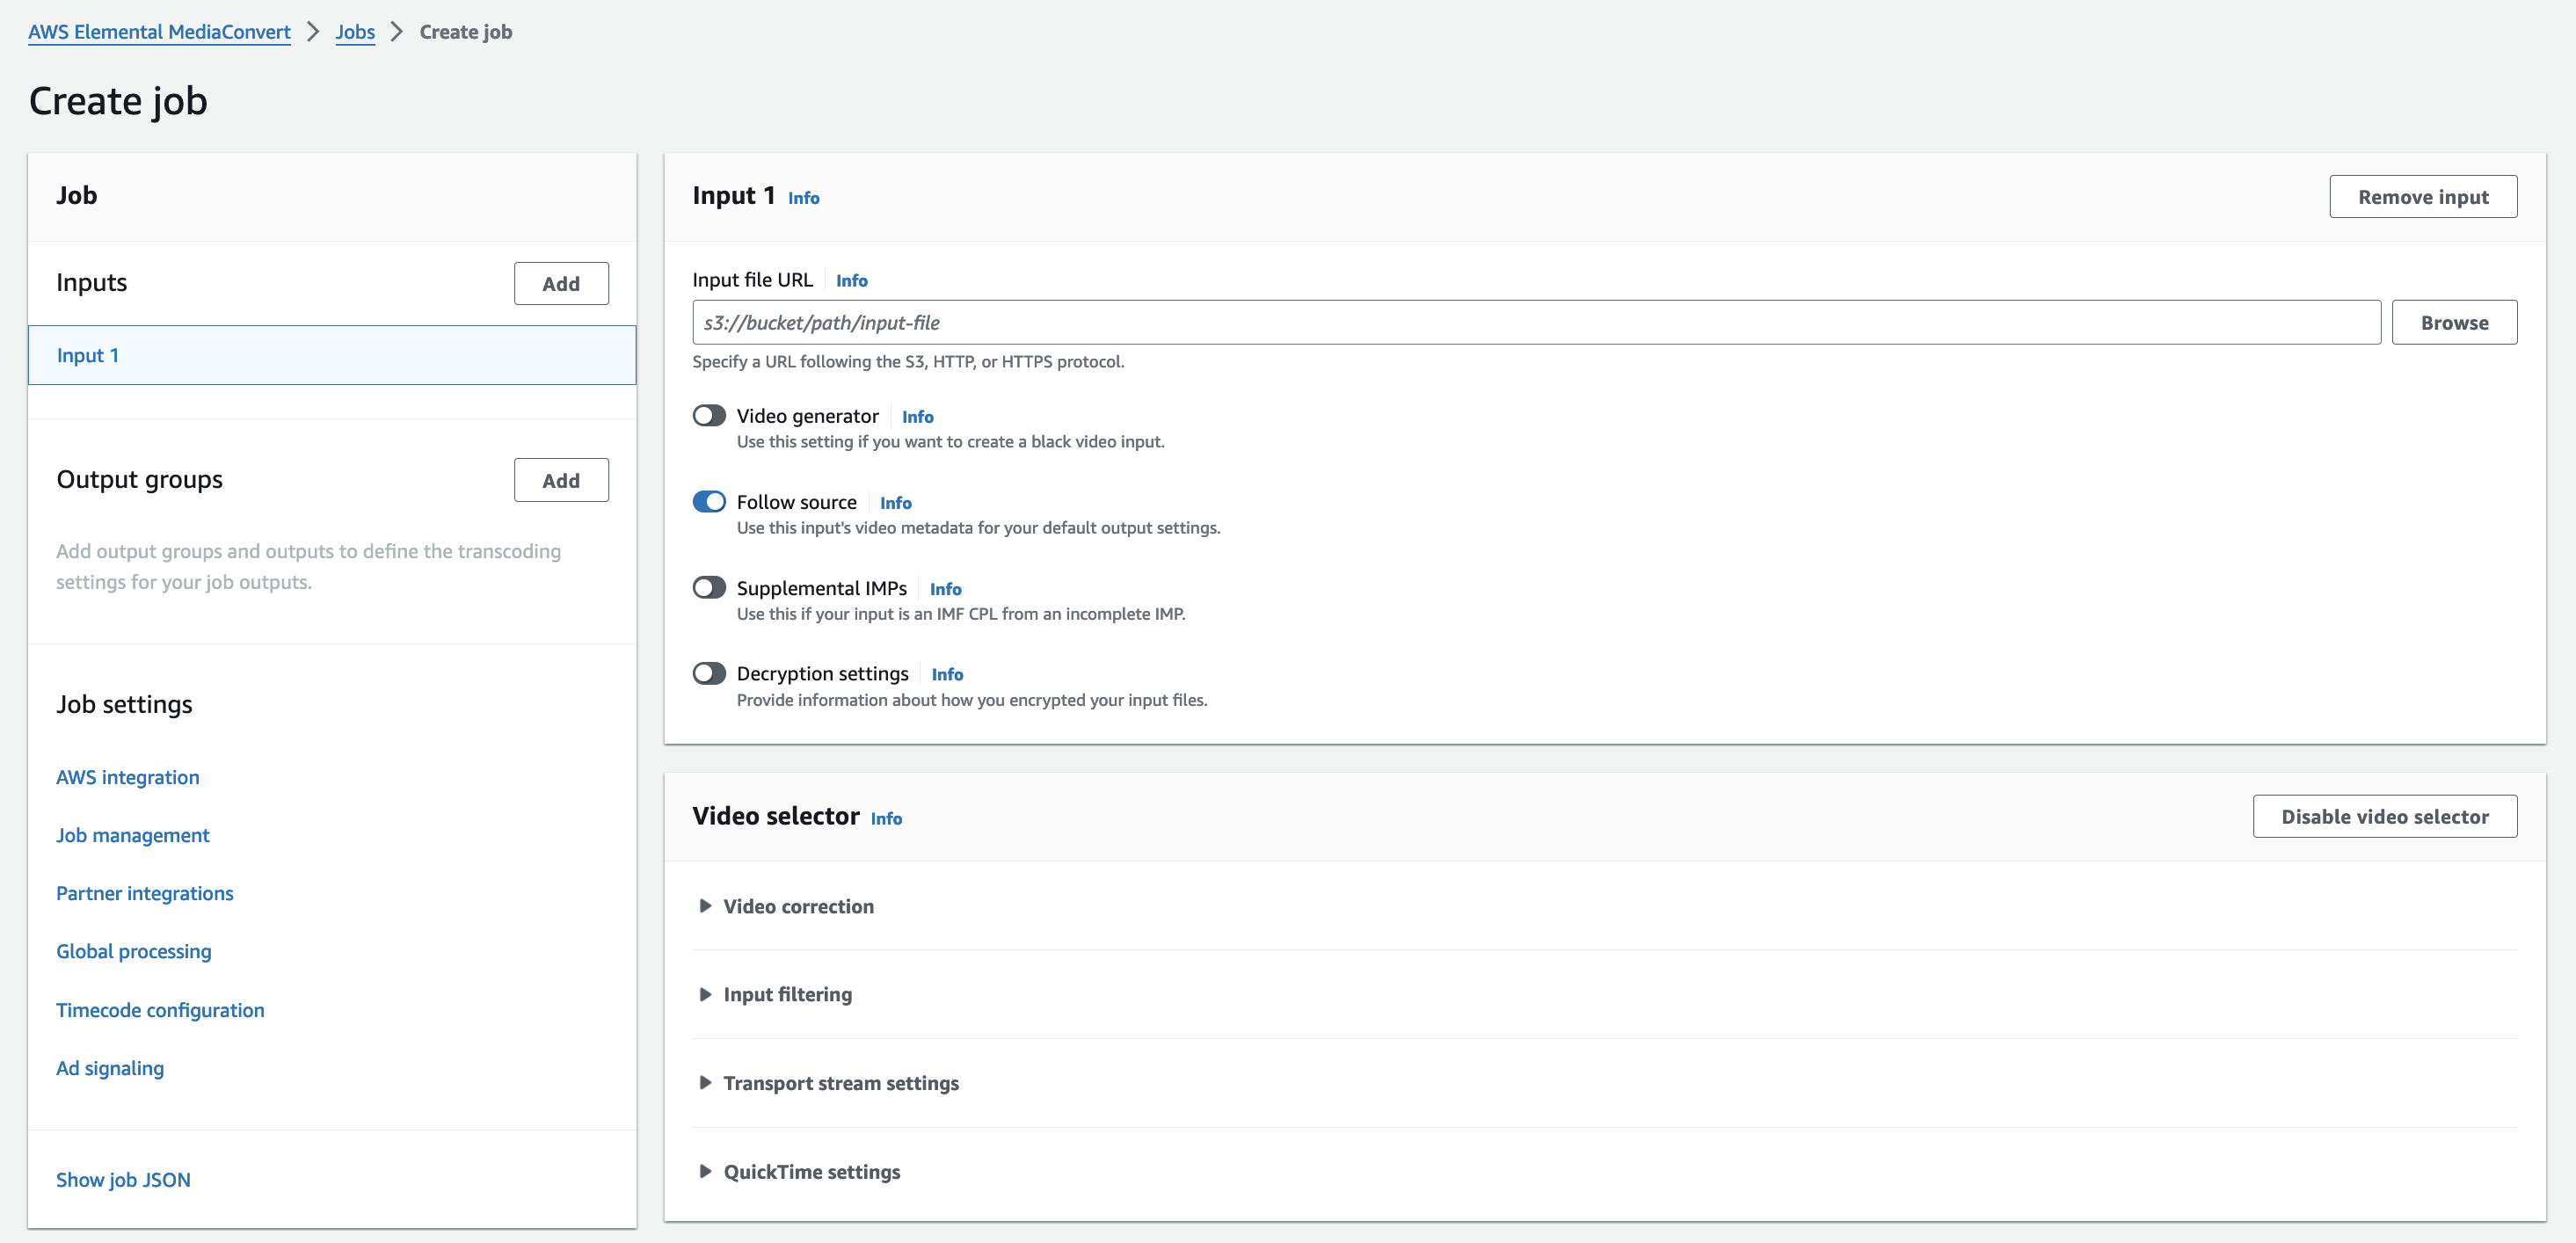
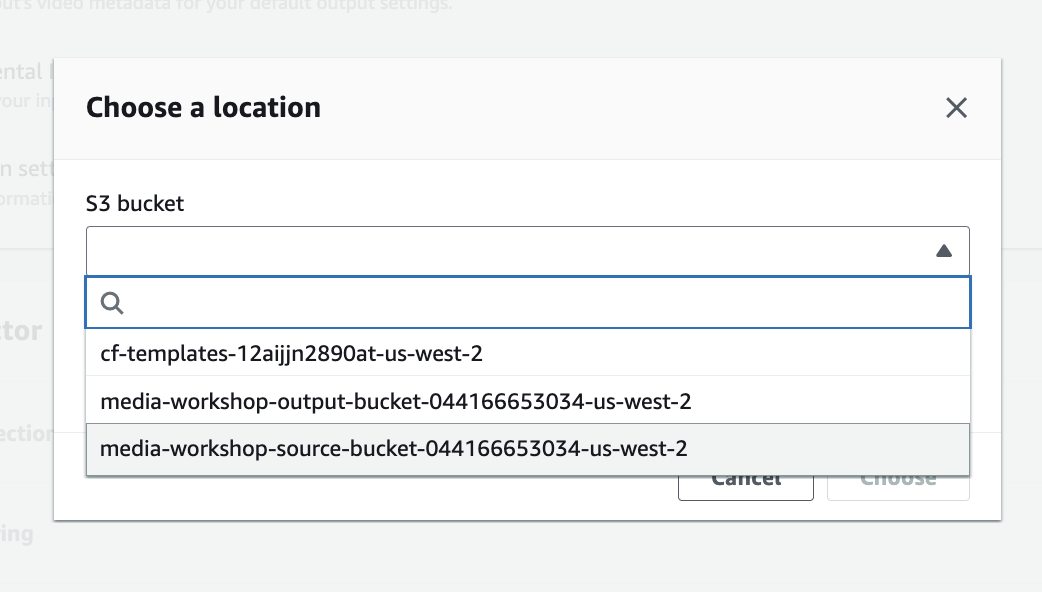
- Next, click on Browse button in the input file URL section.

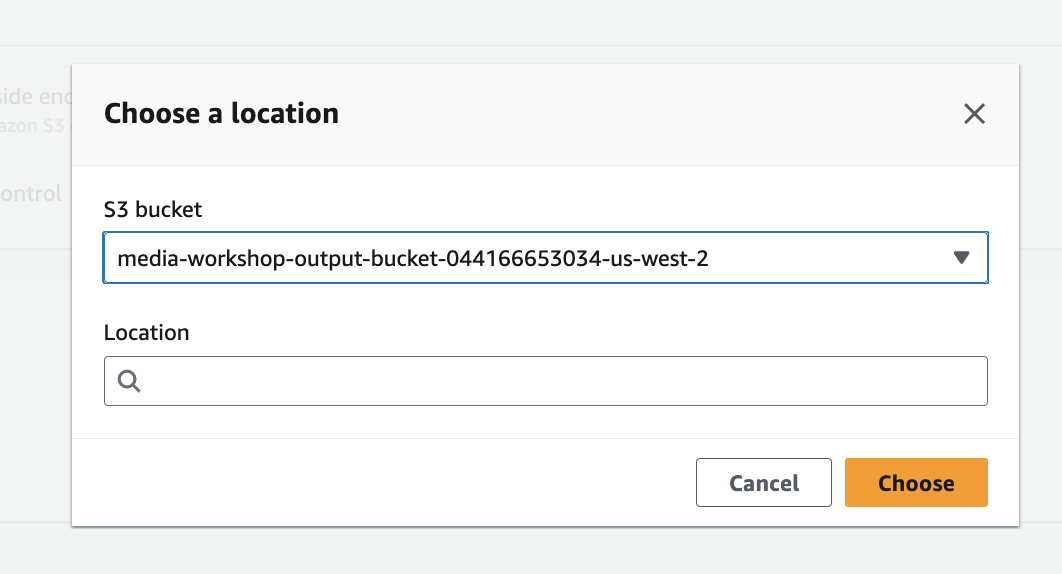
- In Choose a location, for S3 bucket, choose the alias-disneylab-date bucket from the dropdown list. This will be the Amazon S3 bucket you created earlier and uploaded the sample MP4 file to.
- For File, click in the File Search field and choose the AmazonPrimeTrailer.mp4 asset.
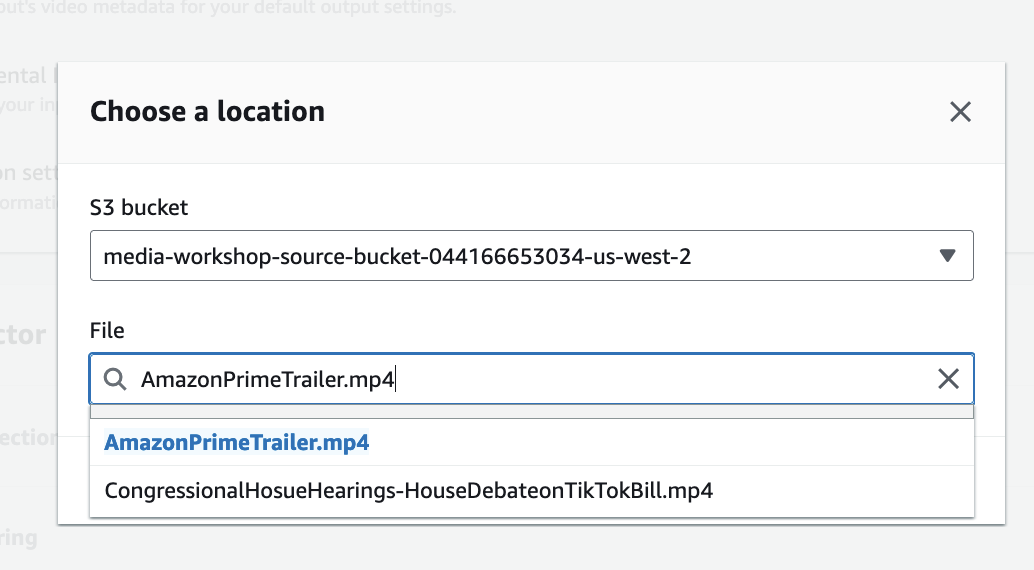
- Then Click the Choose button on the bottom of the menu.

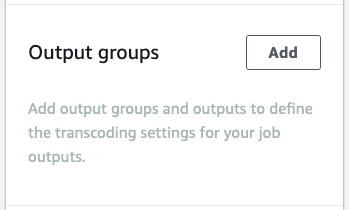
- In Output Groups section on the left side of the page, click Add button.
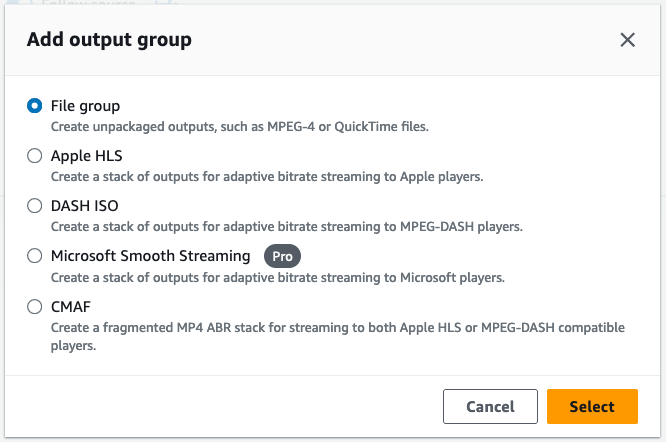
- Select the File group option and then click Select button on the buttom of the menu.
- Now under the File group settings. Lets add a name for the Custom group name, enter MXF-XDCAM
MXF-XDCAM.
This helps you identify groups easily if you have many output groups in a single job or template.

- For Destination, click the Browse button. For the S3 bucket, choose the alias-mxf-output-12082023 bucket. This is the output S3 bucket you created in the earlier Amazon S3 Bucket Setup section.
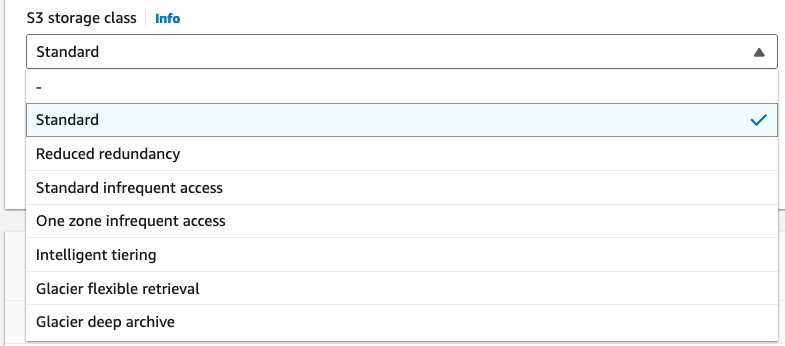
- For the next parameter, set the S3 storage class option to Standard under the dropdown menu.
- Now lets set up our output encode profile. Under the Outputs field, click on the Details link option.

- Now at the top Output settings, click on the Select button that is under the Presets field.
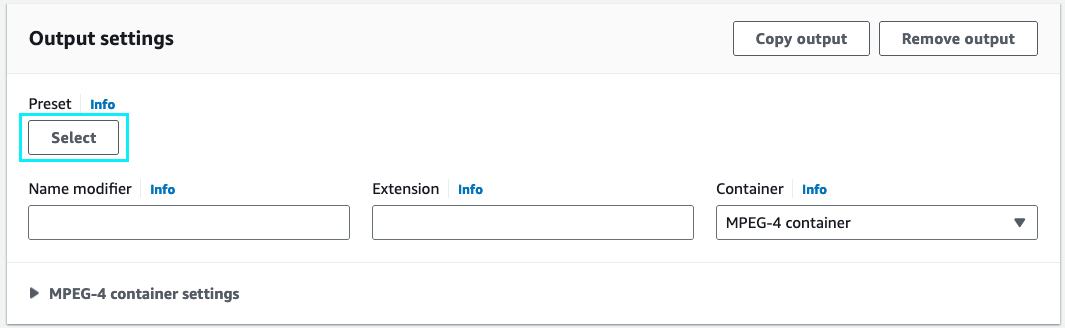
- Now under the Output presets menu, click in the Any category dropdown field and select the MXF option.

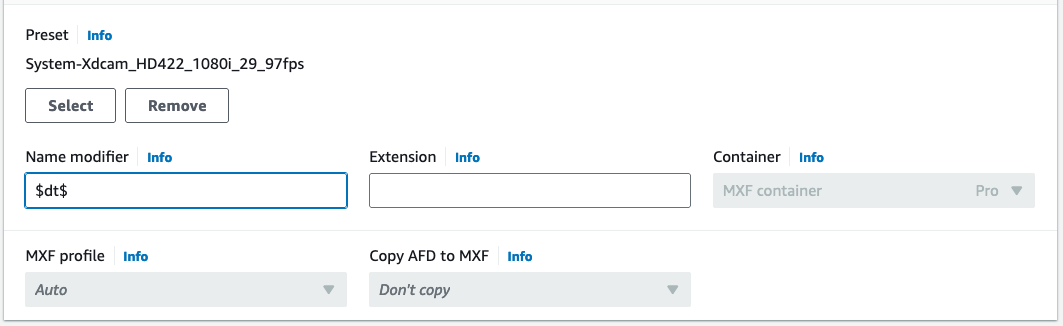
- From the preset options chosse the System-Xdcam_HD422_1080i_29_97fps preset and press the Apply button on the bottom of the menu. This will set the encoder output profile to transcode the source asset to a 1920x1080i Sony XDCAM 422 50Mbps output file.

- Now back under the Output settings section, let’s set a naming convention tag under the Name modifier. In this field enter $dt$
$dt$. This will append a date and time to the output MXF media file to uniquely identify the media and prevent accidental overwrites.
NOTE: The following link will provide you a list of naming variables that you can use in the future:
https://docs.aws.amazon.com/mediaconvert/latest/ug/using-variables-in-your-job-settings.html
-
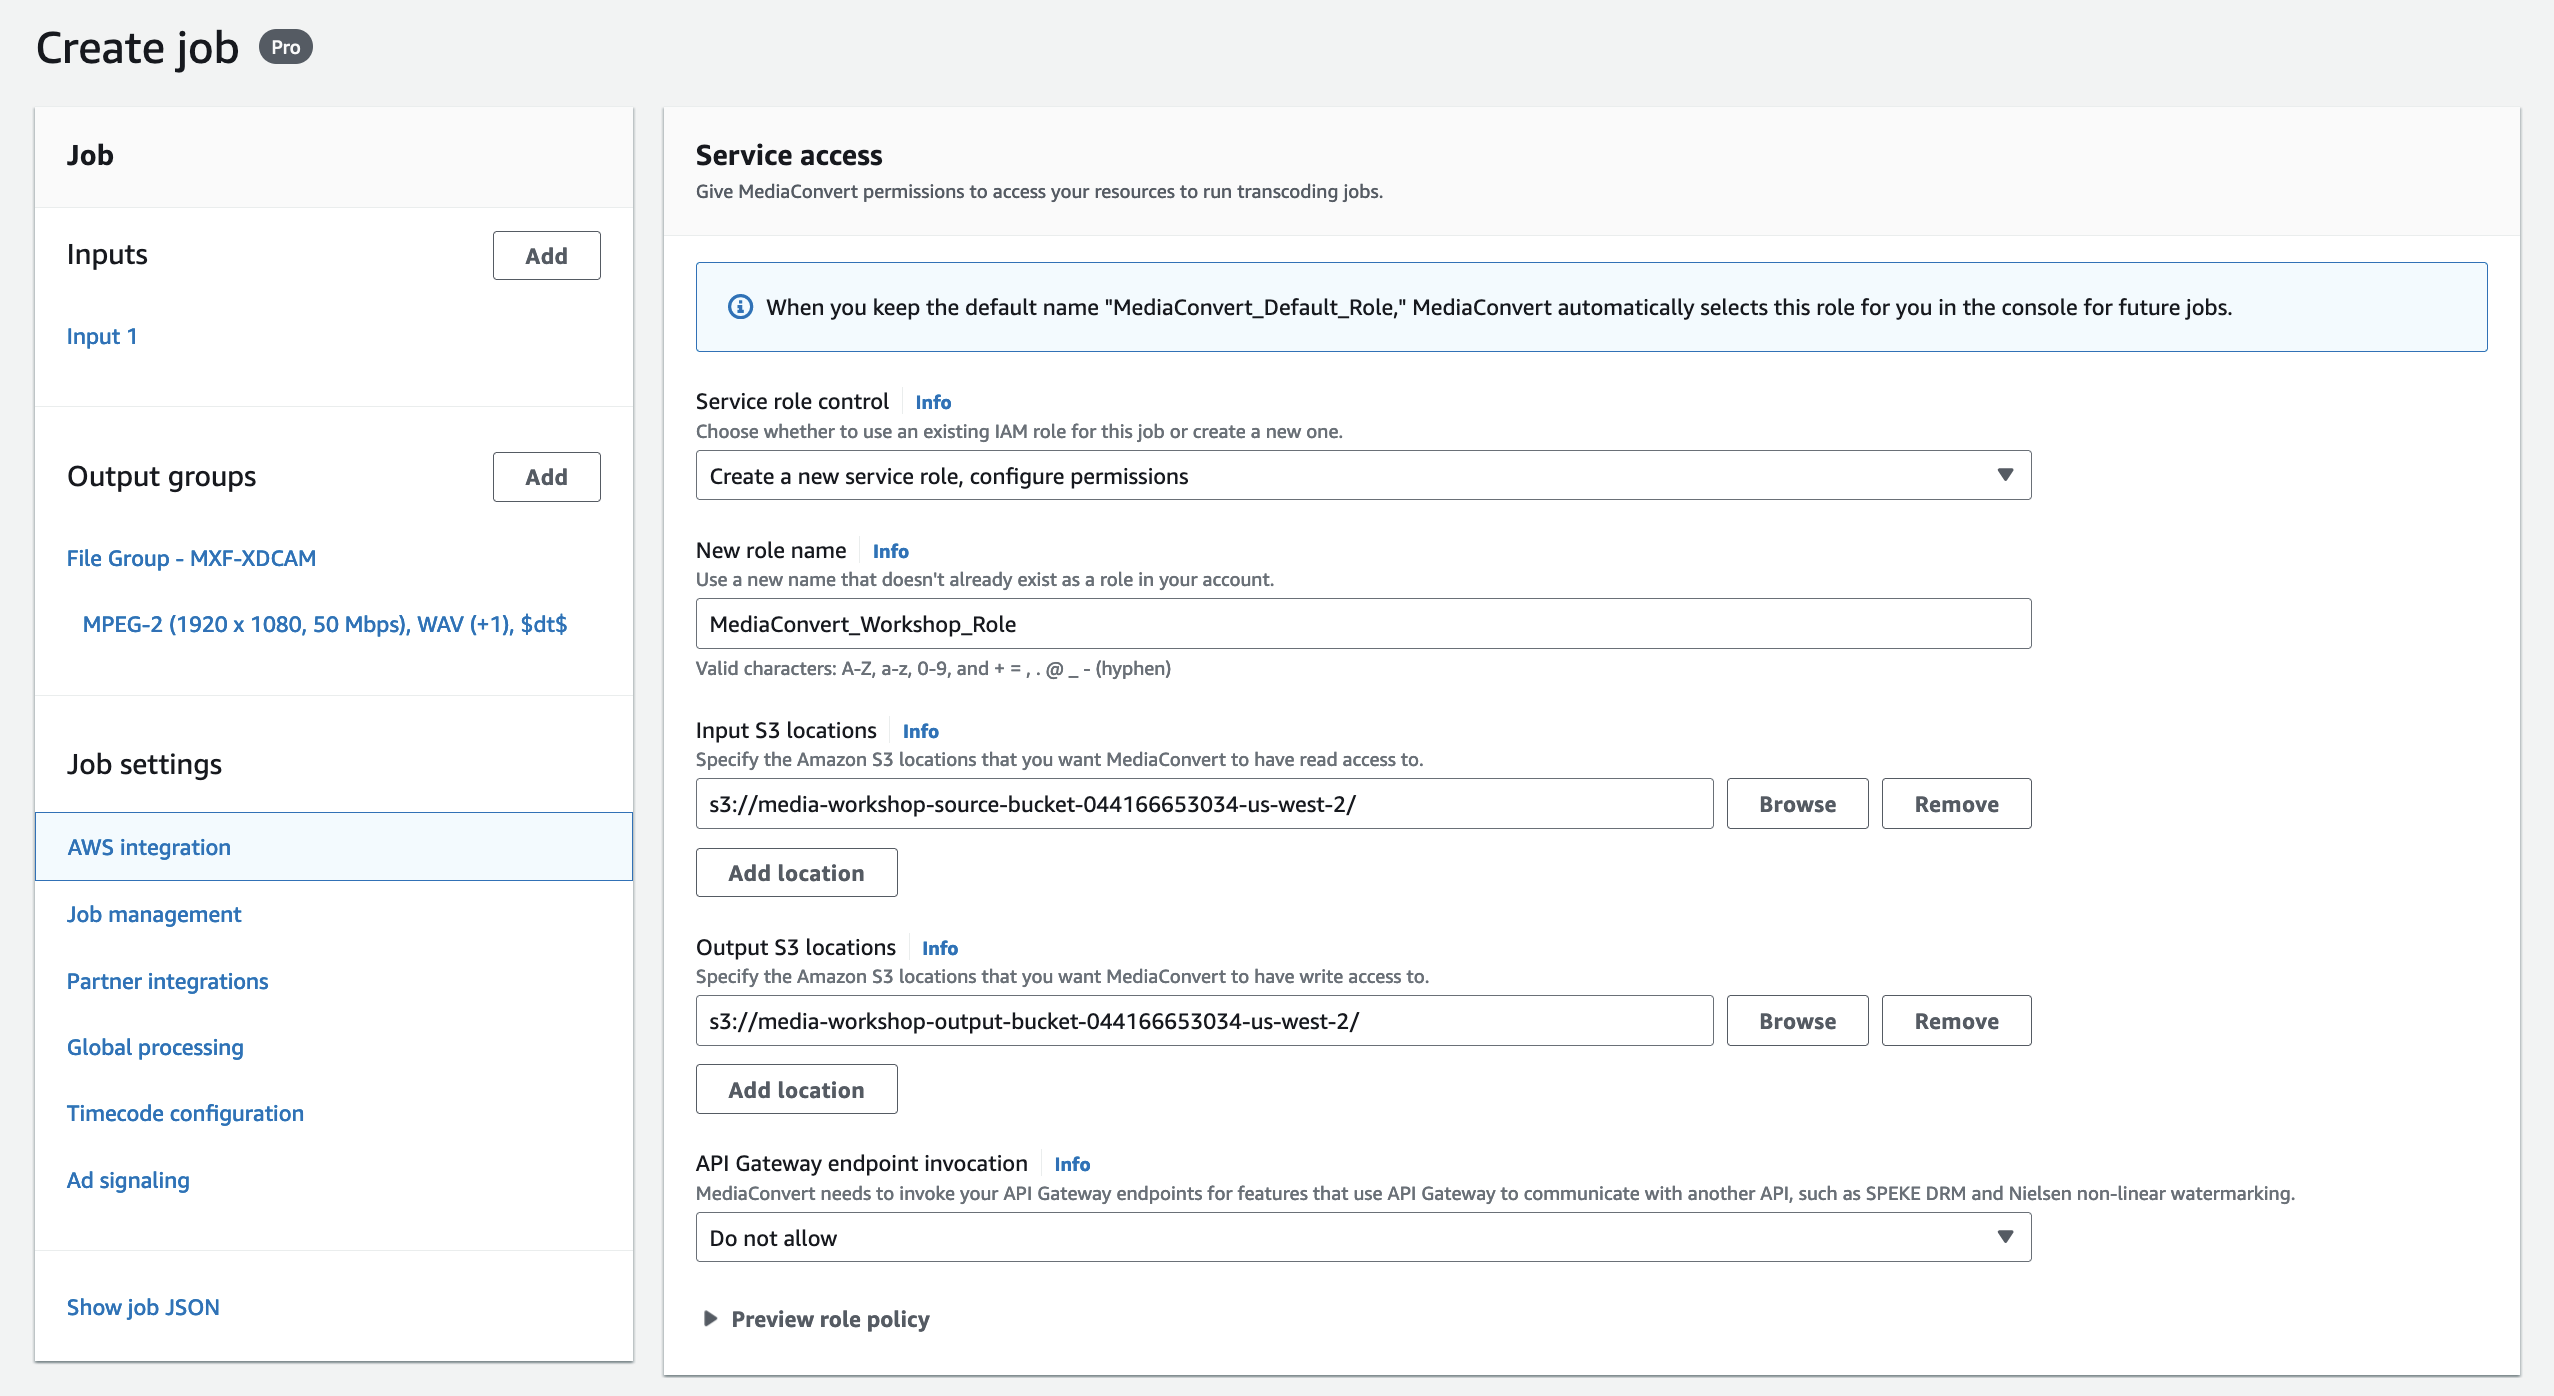
Click AWS integration on the left sidebar. Enter a role name for our workshop IAM role to allow MediaConvert to access S3. In this example, we chose
MediaConvert_Workshop_role.Under Input S3 locations, click Browse to select our source bucket.
Under Output S3 locations, click Browse to select our output bucket.
- Scroll down to bottom of the page and hit the Create button. This will submit the job to the transcode process queue and start the transcode task.
-
Wait for the job to complete. Monitor the status of the job by refreshing the Job details page using the Refresh button at the top of the page.
-
Once the job status has completed you can select the Export JSON button at the top of the page and this will allow you to download and save the encoder profile to be archived or used later within an API call to submit assets for transcoding.

- You can also select Job summary option at the top of the page to view all of the job details.
