Step 3: Creating the HLS Feed using MediaLive
In order to complete the architecture of this Lab, we will create a new MediaLive channel in the N. Virginia Region to create an HLS distribution package of the same feed originating from us-west-2 (Oregon).
-
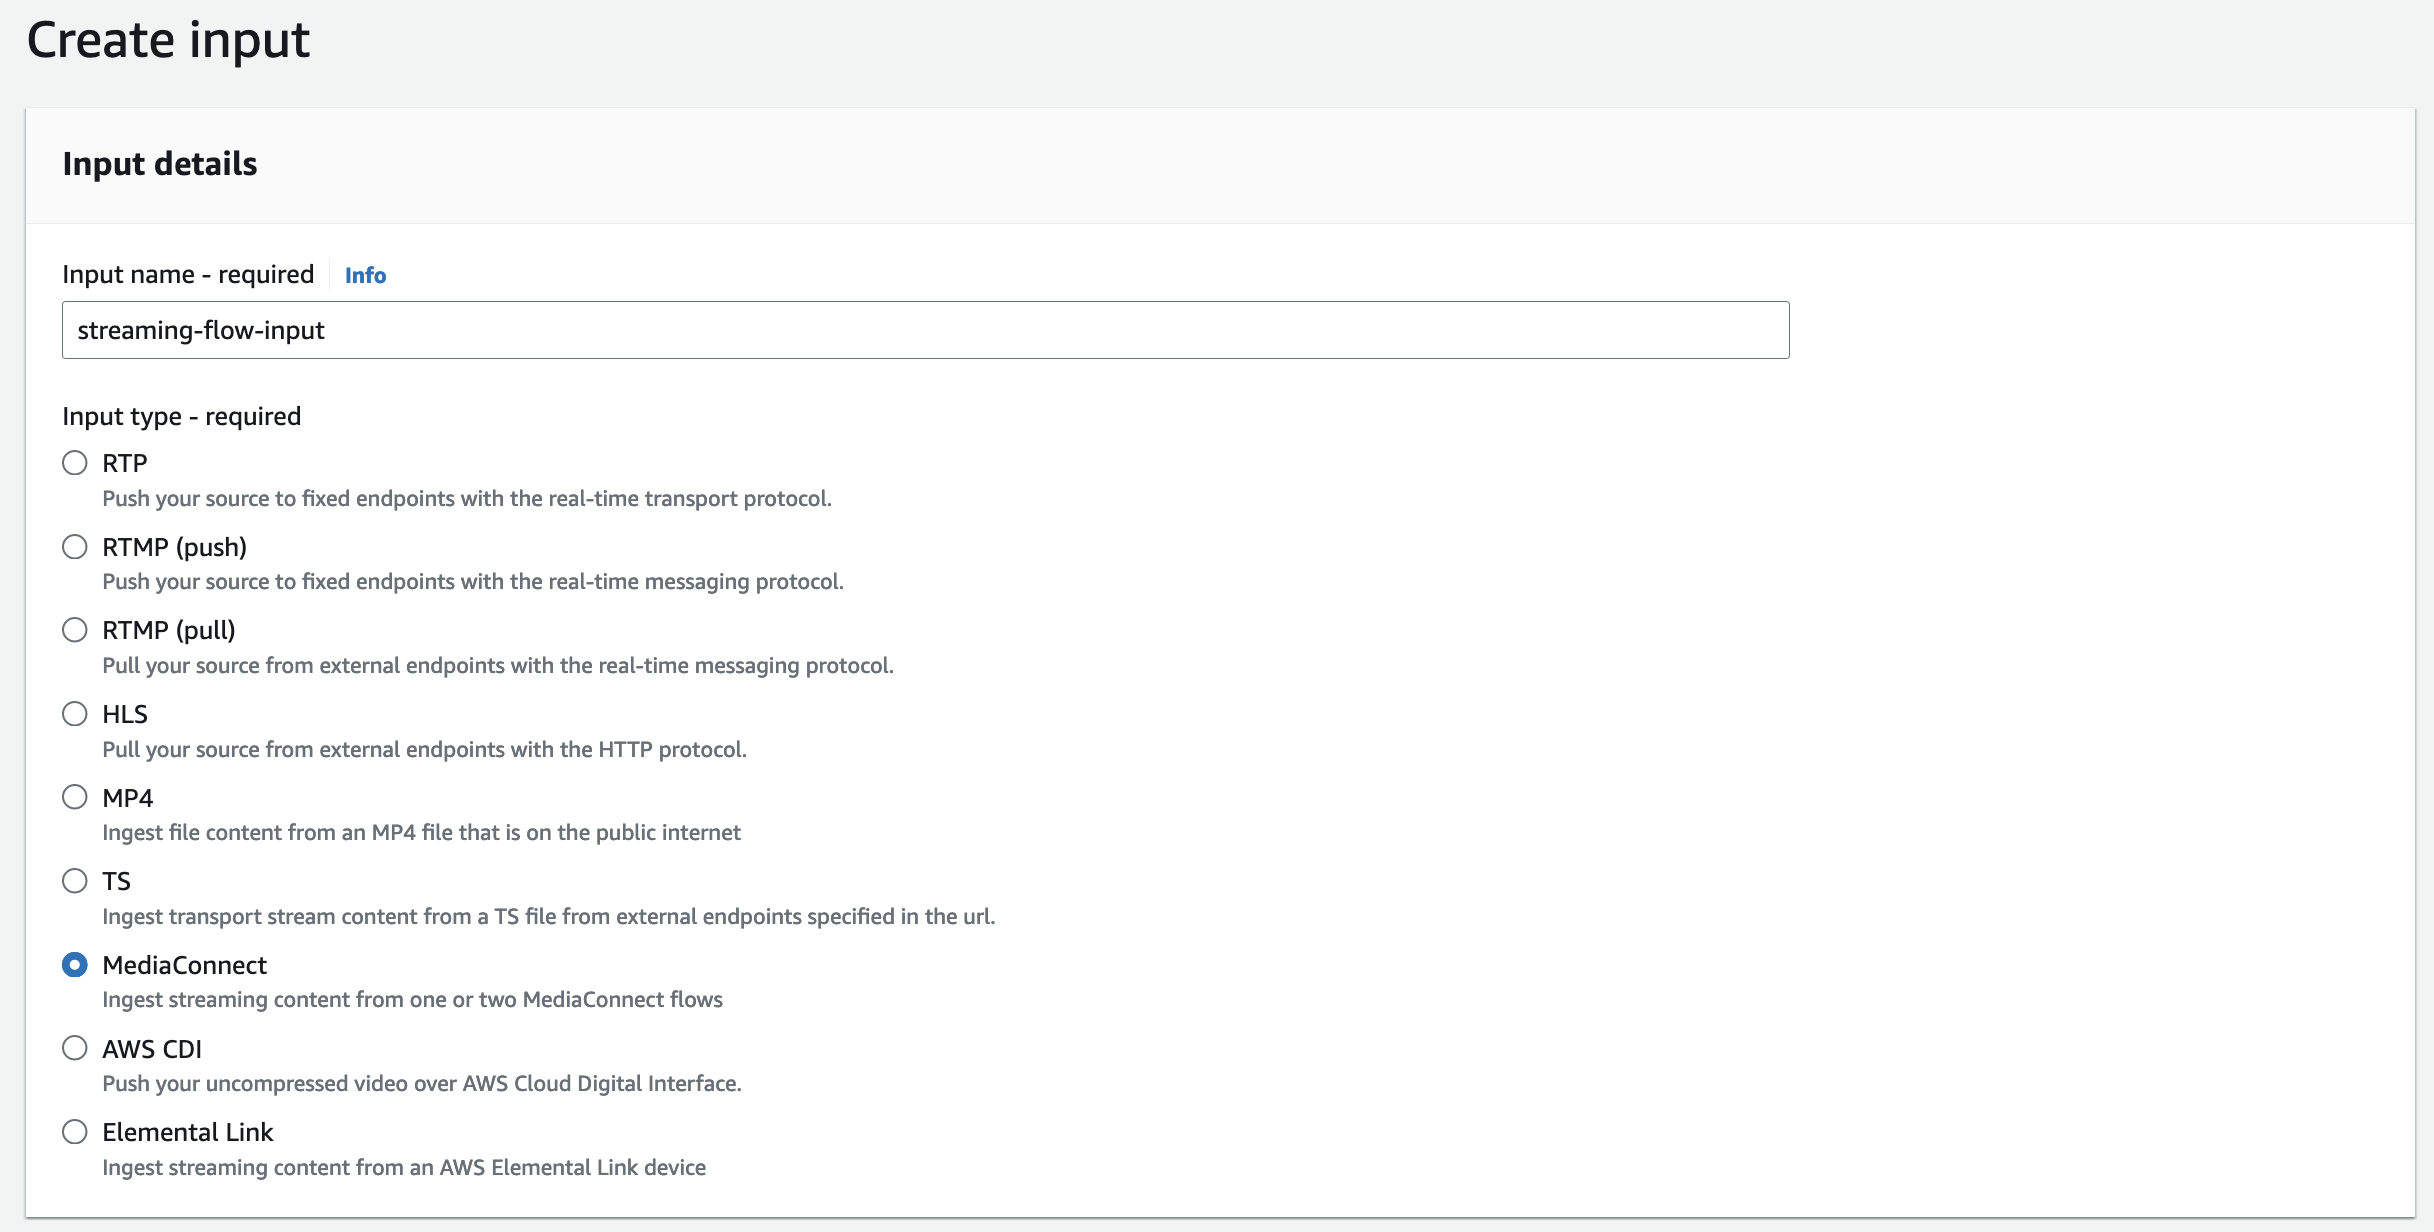
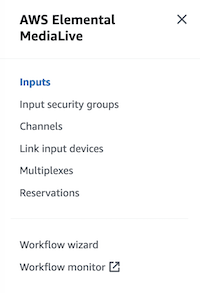
Within the console, go to the us-east-1 (N. Virginia) region within the MediaLive console. Go to Inputs section on the left of the page. Click Create Input. Give it a name, for example
streaming-flow-input.Select “MediaConnect” as Input type.
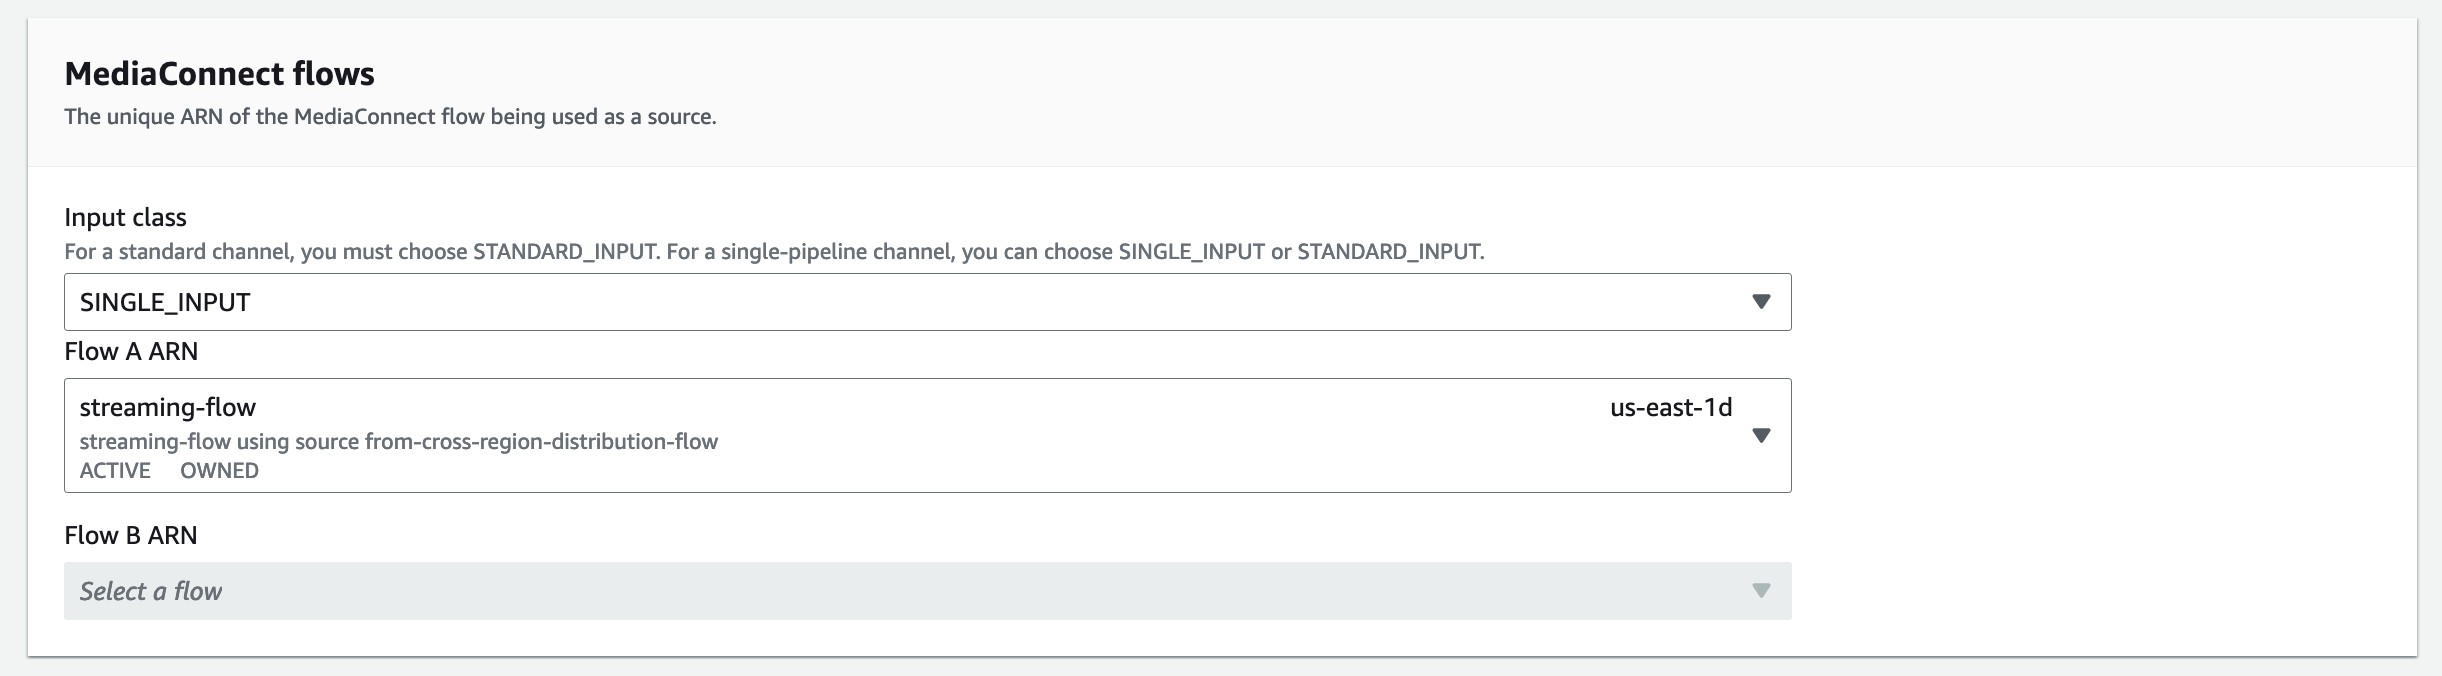
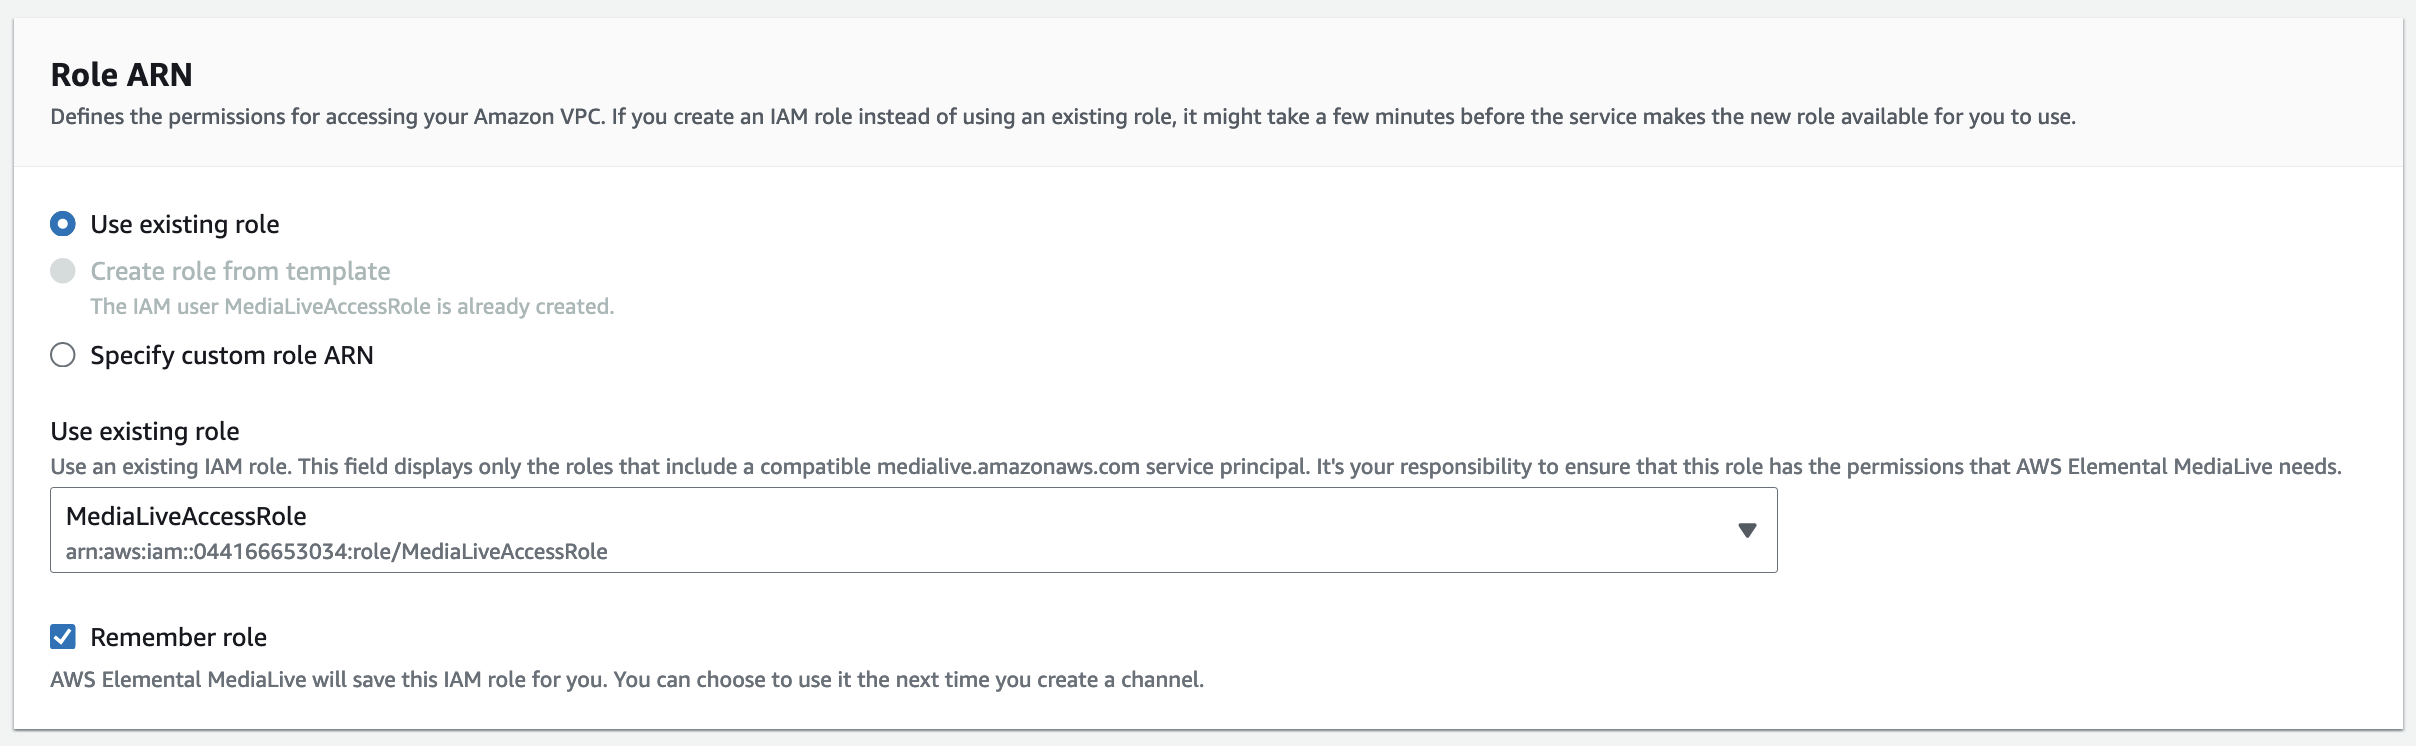
On MediaConnect flows section, change the Input class to “SINGLE_INPUT”, and for the Flow A ARN, select the existing MediaConnect flow called “streaming-flow”. In the Role ARN section, select the existing role we created before “MediaLiveAccessRole”.
Click Create input.
-
After you created the input, let’s create a new channel and attach this MediaConnect Input as the source. This time, we will use the Workflow wizard to automate the creation of the MediaLive channel, with the AWS Elemental MediaPackage for HLS packaging and the Amazon Cloudfront distribution in a single shot.
Go to Workflow wizard in the left side bar,and click Create workflow button.
Next we will enter a Workflow name for example,
cross-region-emx-to-eml-to-hls-stream-distribution. Change the MediaLive channel class to “Single Pipeline”. We will use the existing MediaLiveAccessRole. under the “Use existing role” option. Next click the Next button.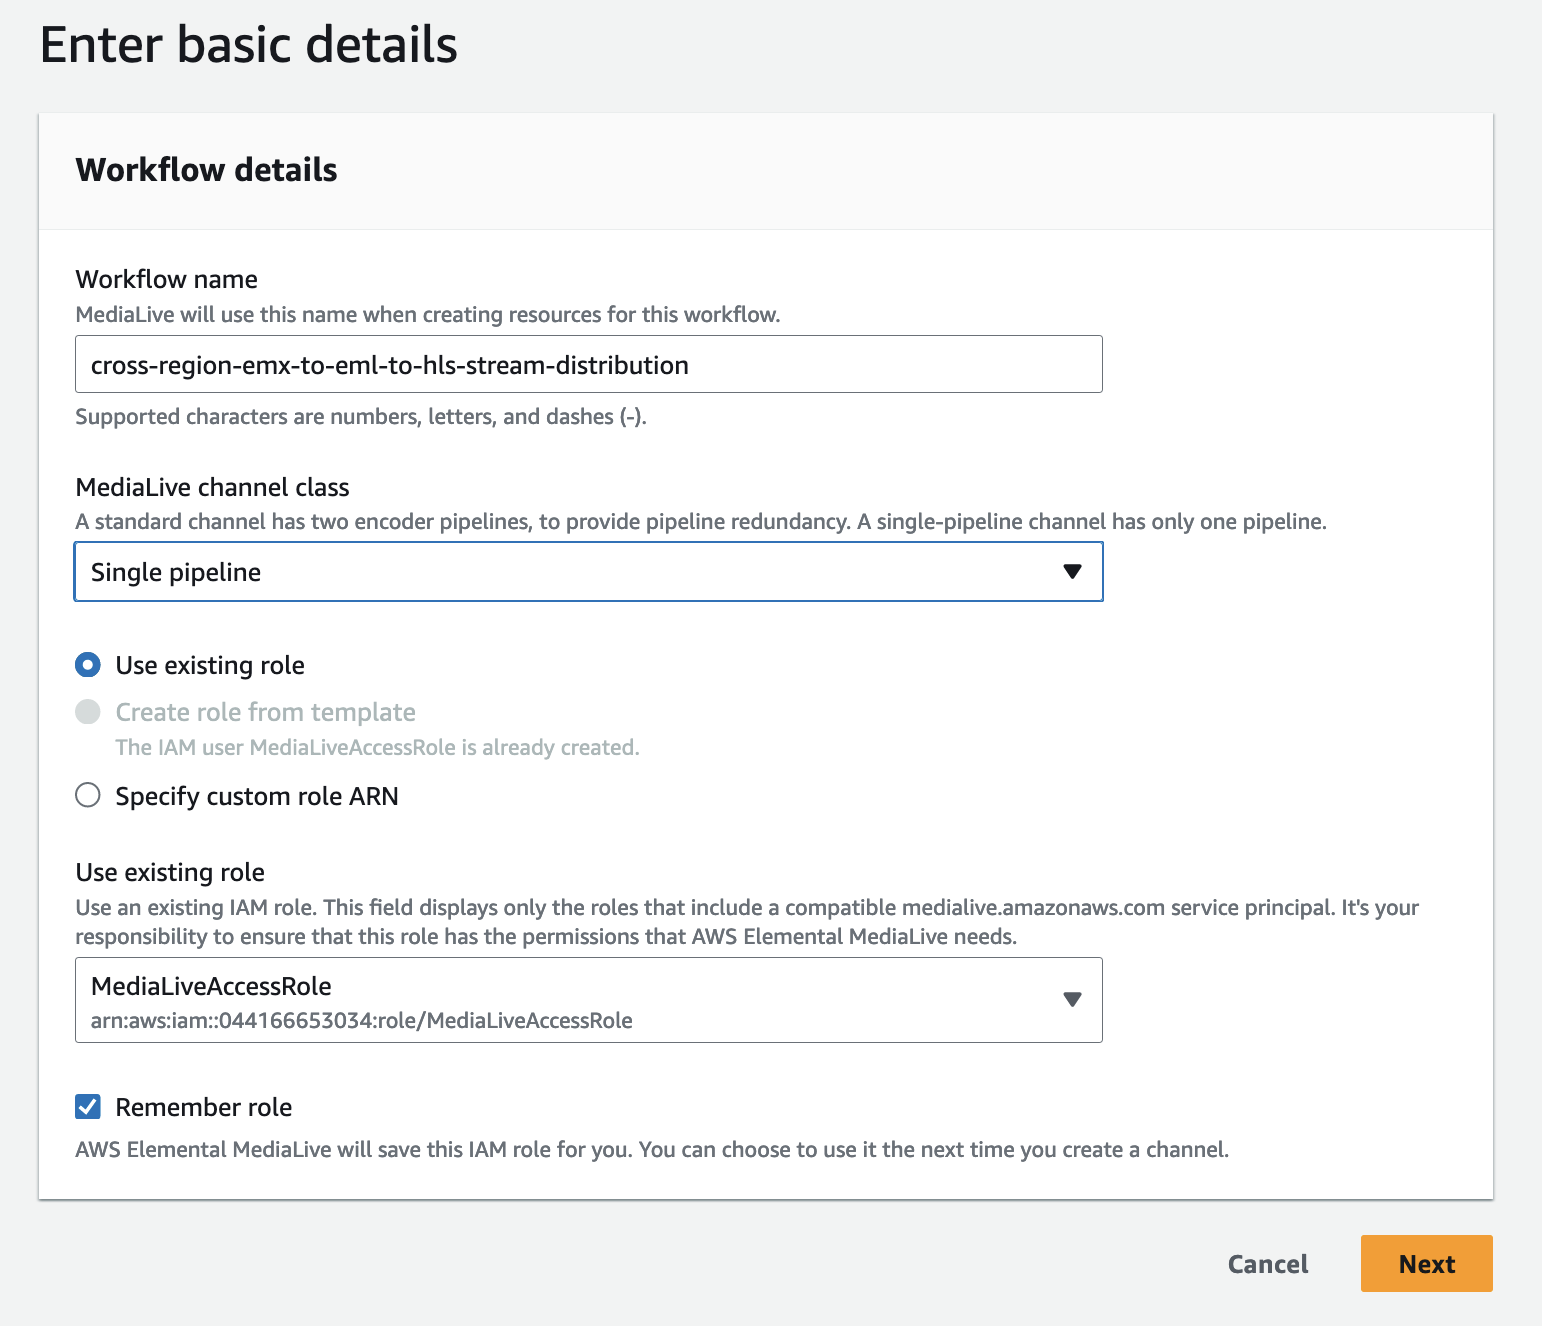
Throughout this Lab, for the sake of simplicity, we are using always Single Pipeline as Input and Channel classes. In production enviroments, we strongly recomend the use of Standard Class, as this replicates the whole workflow in two Availabiliy Zones and offers a better resiliancy model.
See documentation for more information: https://docs.aws.amazon.com/medialive/latest/ug/plan-redundancy-mode.html
-
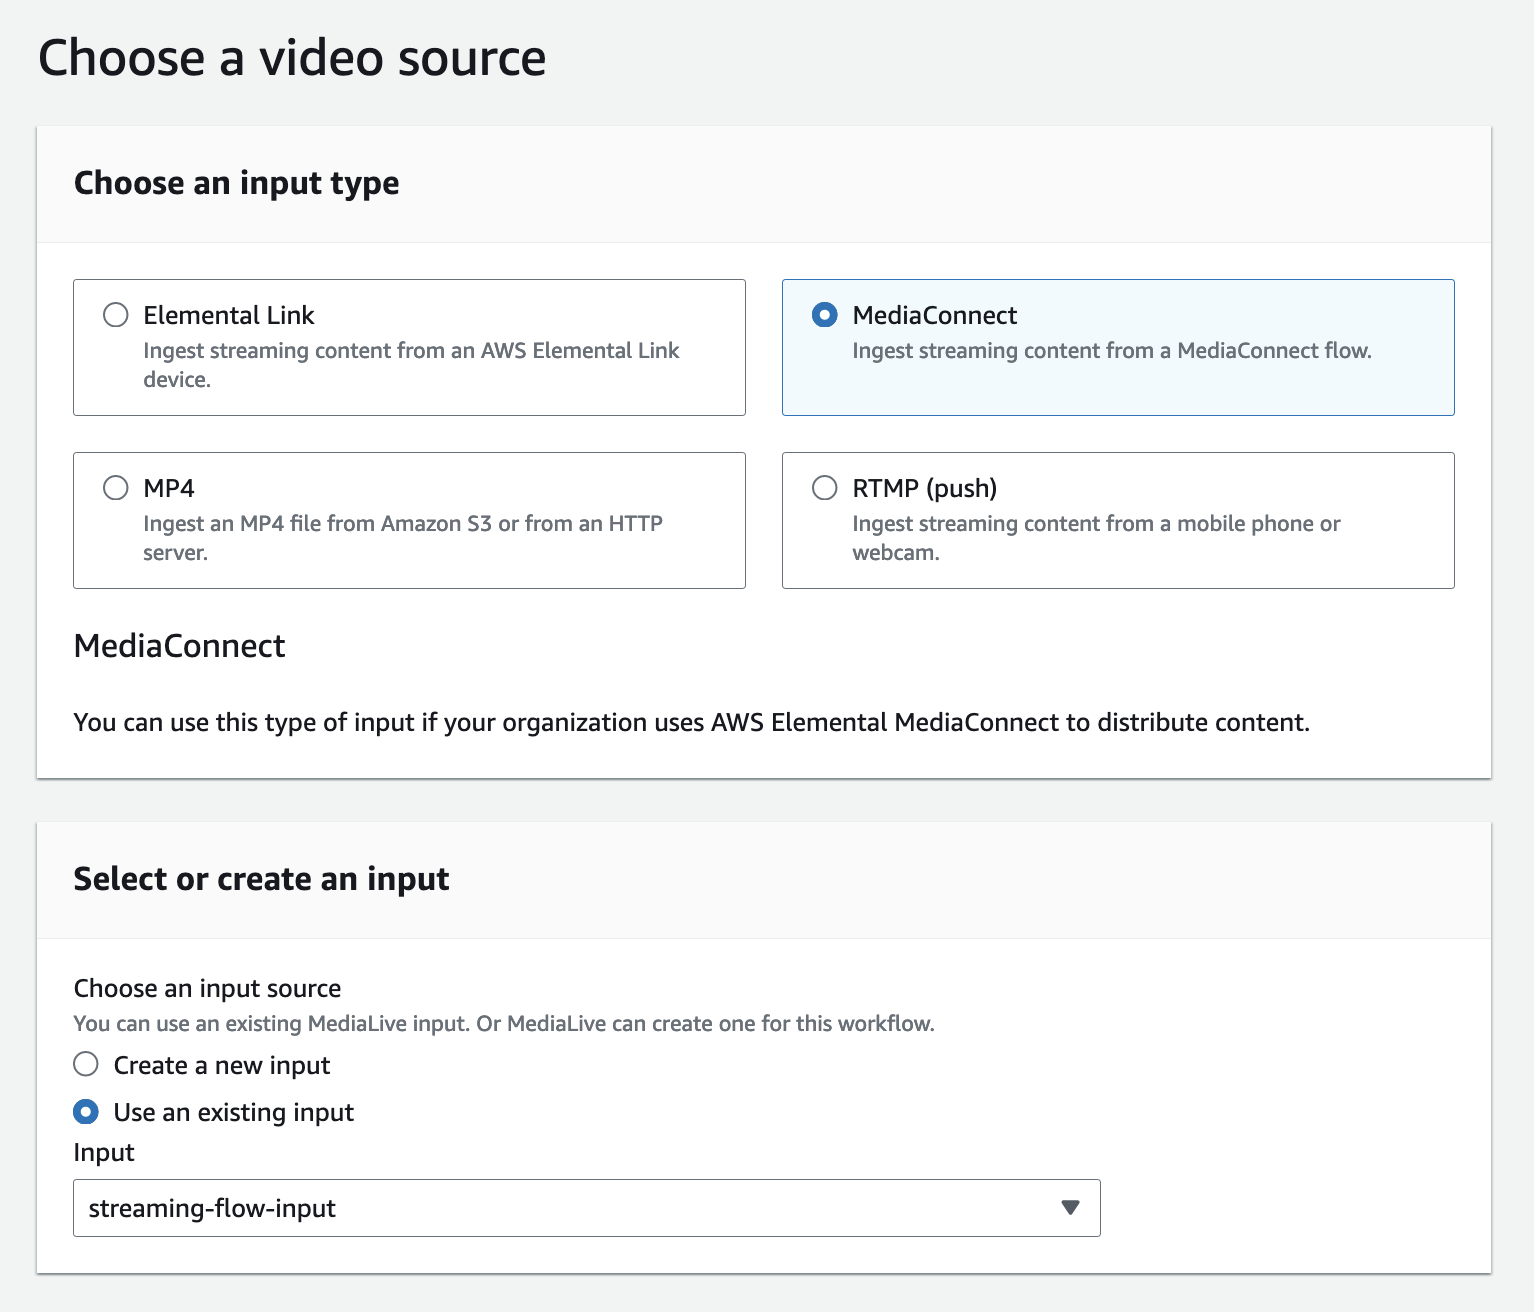
As Input type, select “MediaConnect”. Then for the input option select “Use an existing input”. For the Input select the “streaming-flow-input”. Leave the rest of the options as defaults and click the Next button.
-
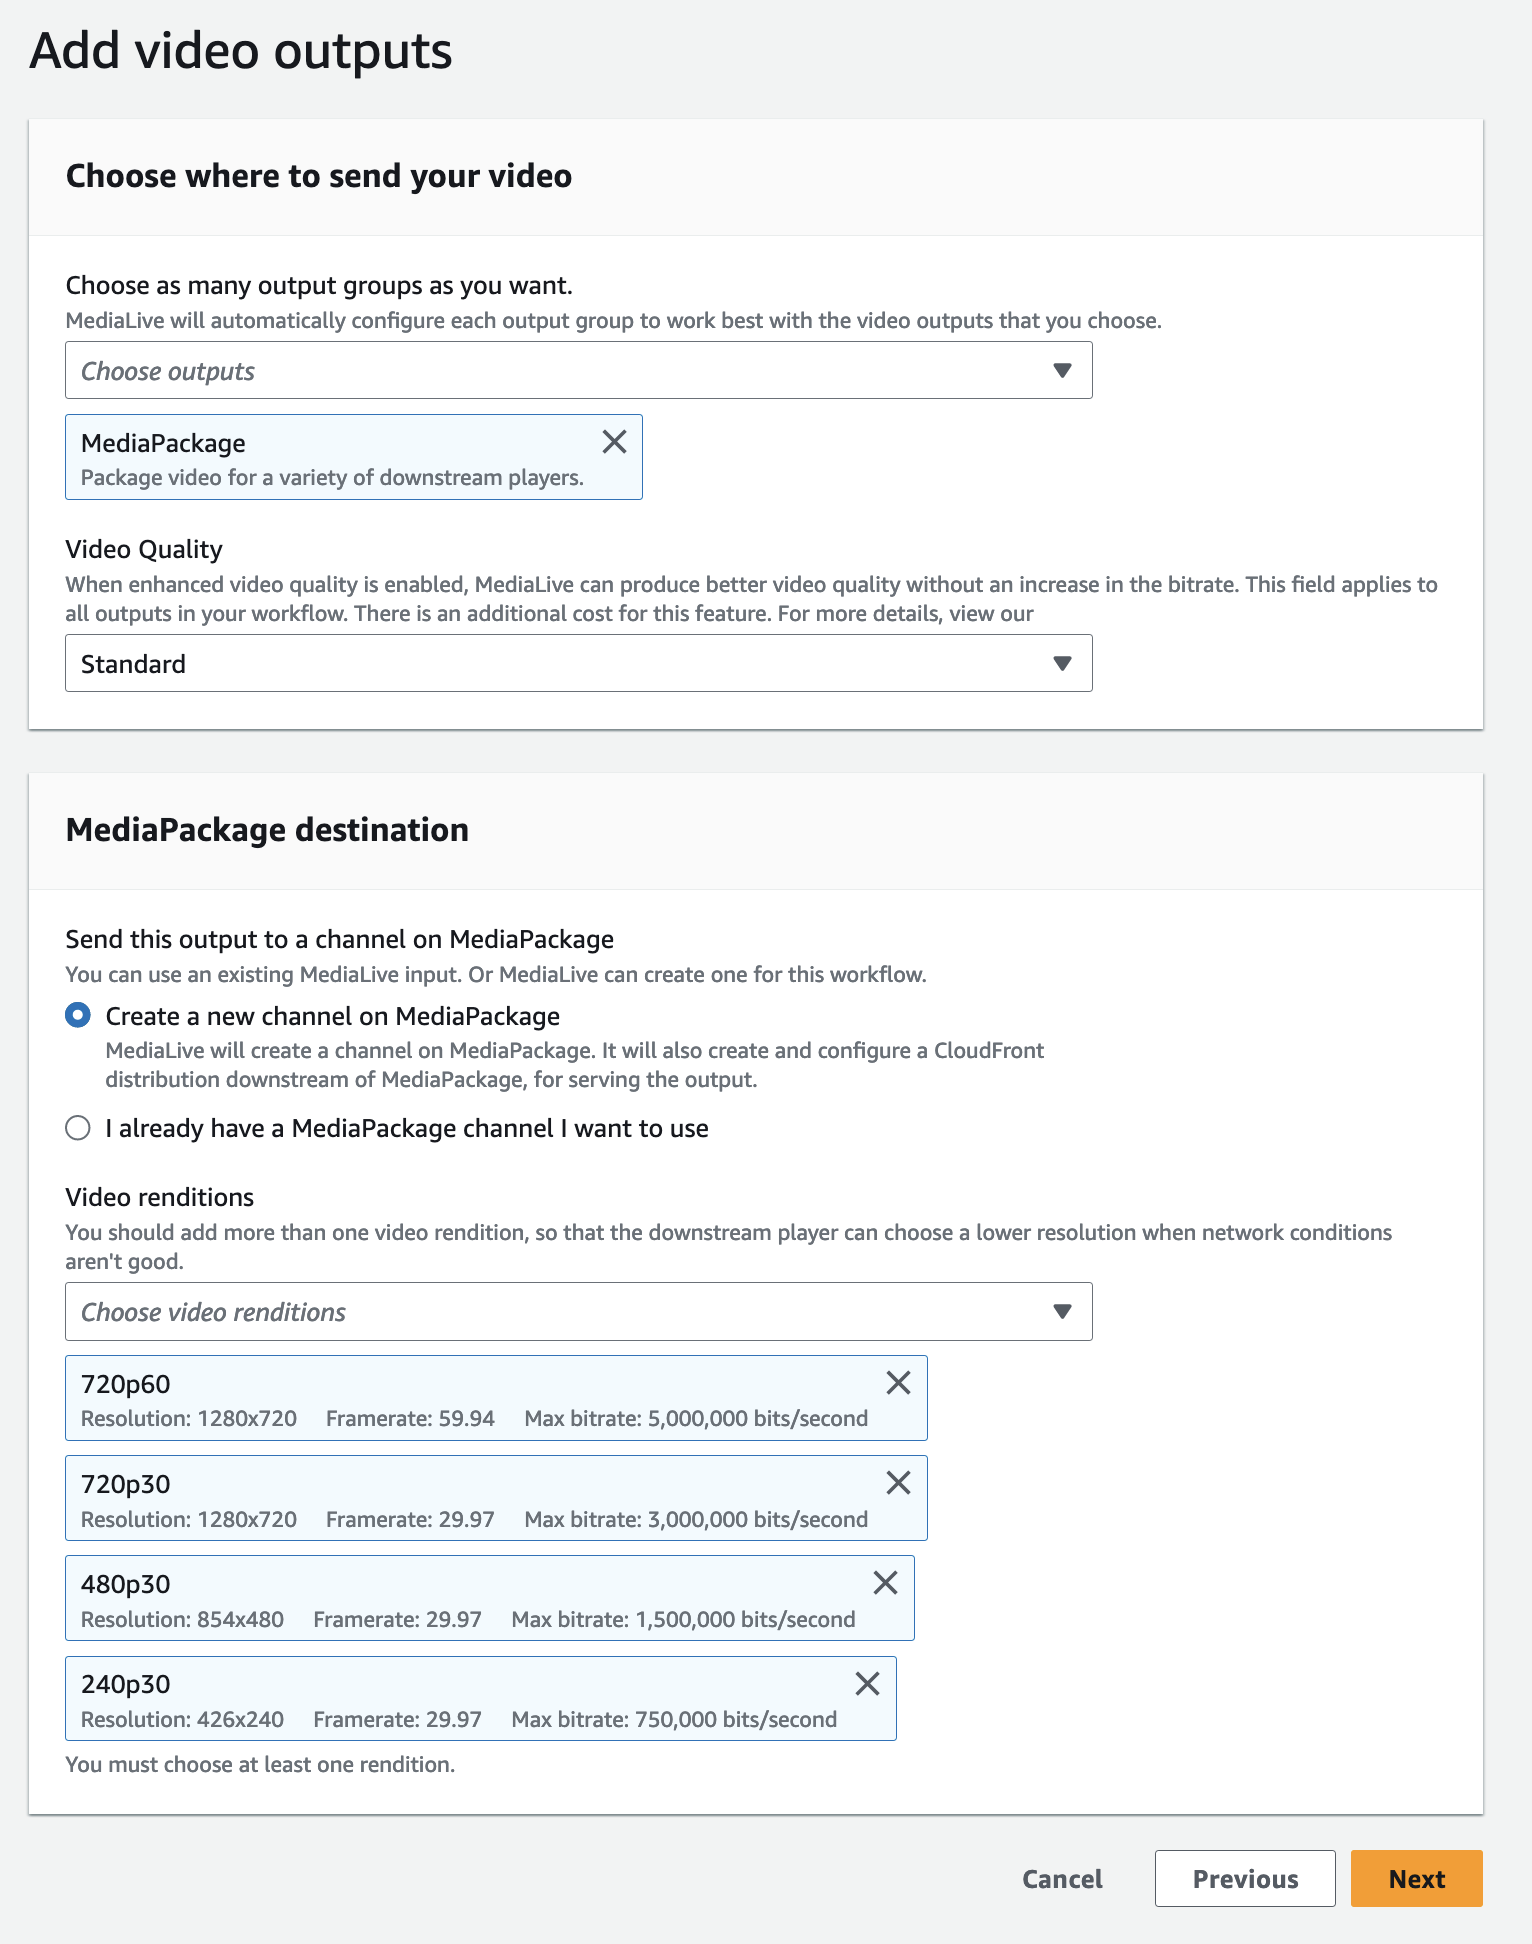
In this next section, under the “Choose outputs” drop down menu, select Media Package and leave the other options as defaults. This will create a MediaPackage channel, and also setup the Amazon CloudFront distribution automatically, with four ABR renditions (240p,480p,720p and 720p60). You can add or remove using the Video renditions drop down menu. Click the Next button.
-
Review your configurations and click Create workflow resources. The workflow will trigger the creation and configuration of all resources needed. This will take several minutes.
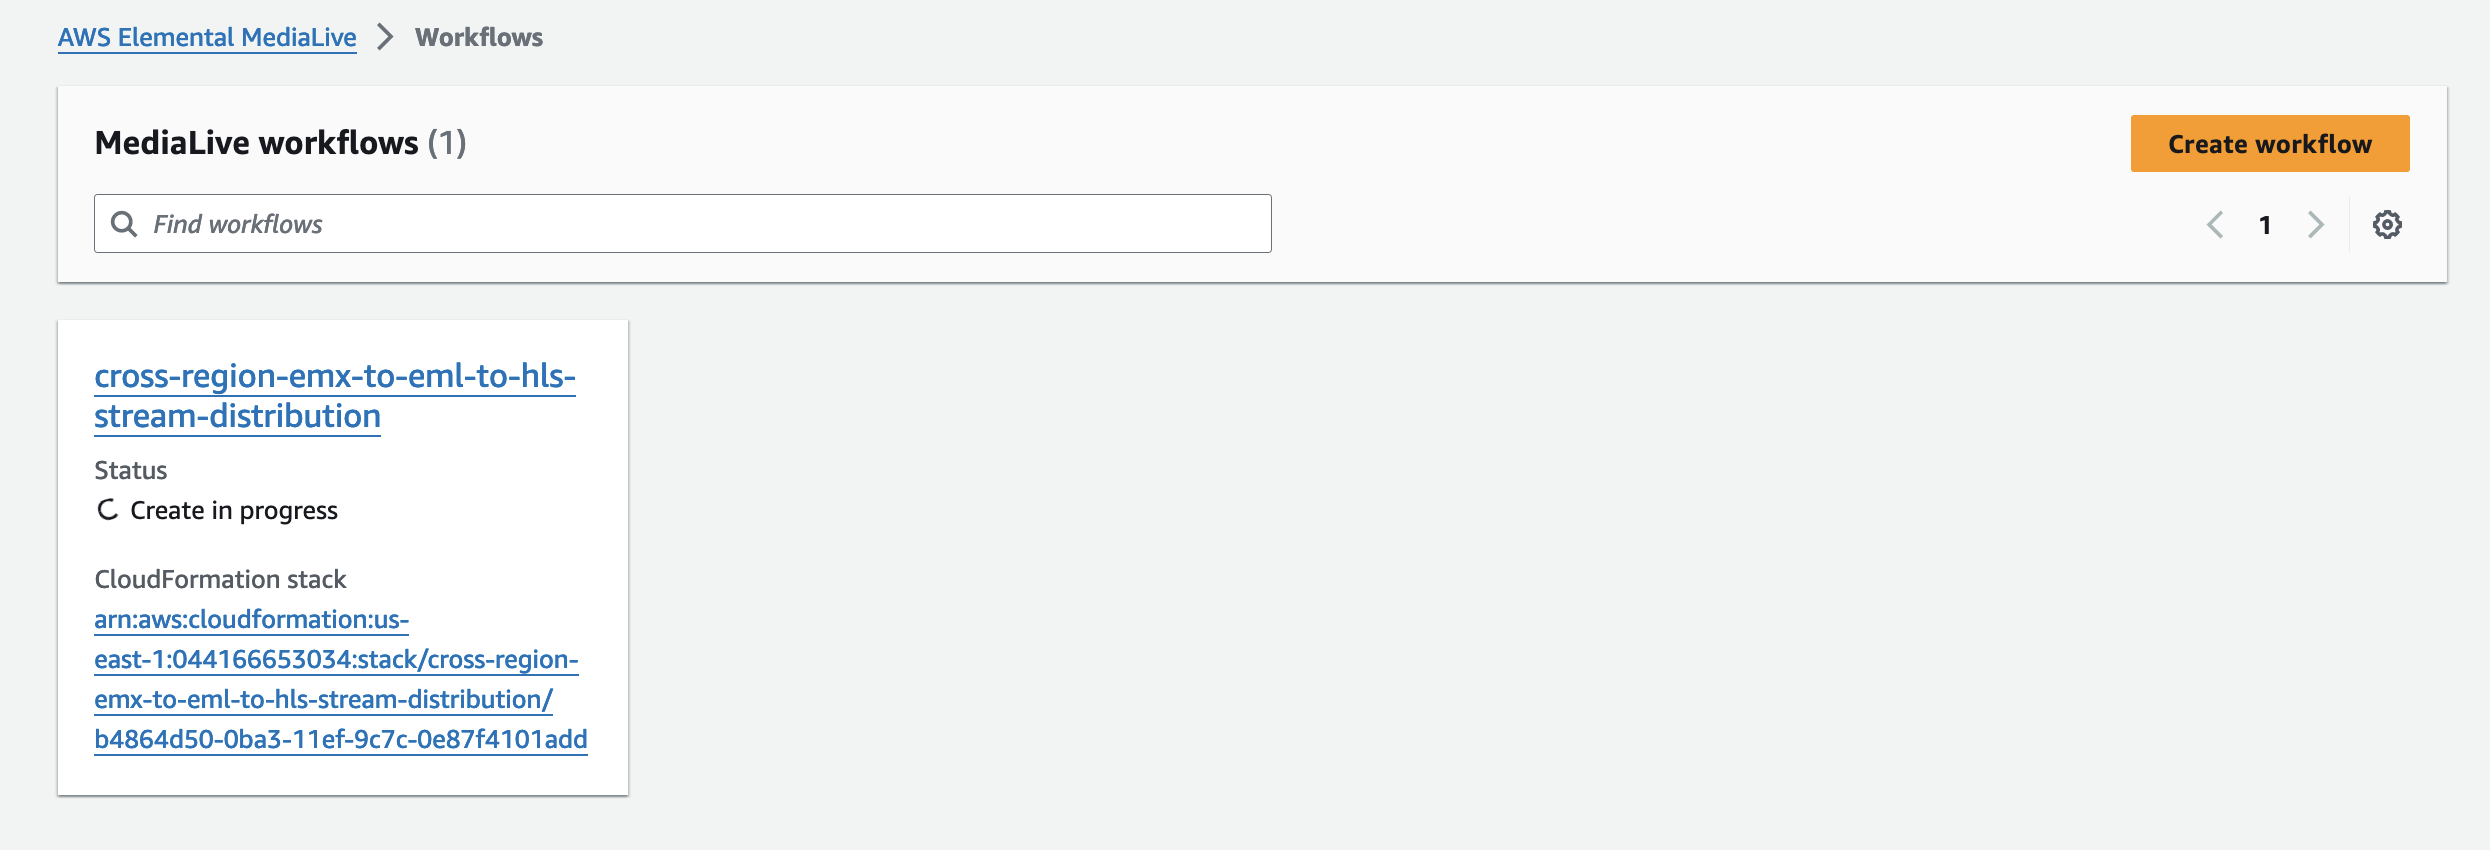
-
After the AWS Cloudformation stack is deployed, you will see the Status as “Create Complete”.
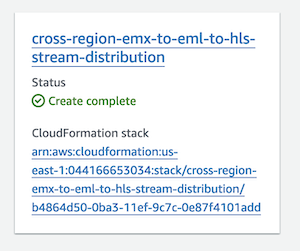
-
Click on the workflow “cross-region-emx-to-eml-to-hls-stream-distribution”. Then click Start Workflow button.
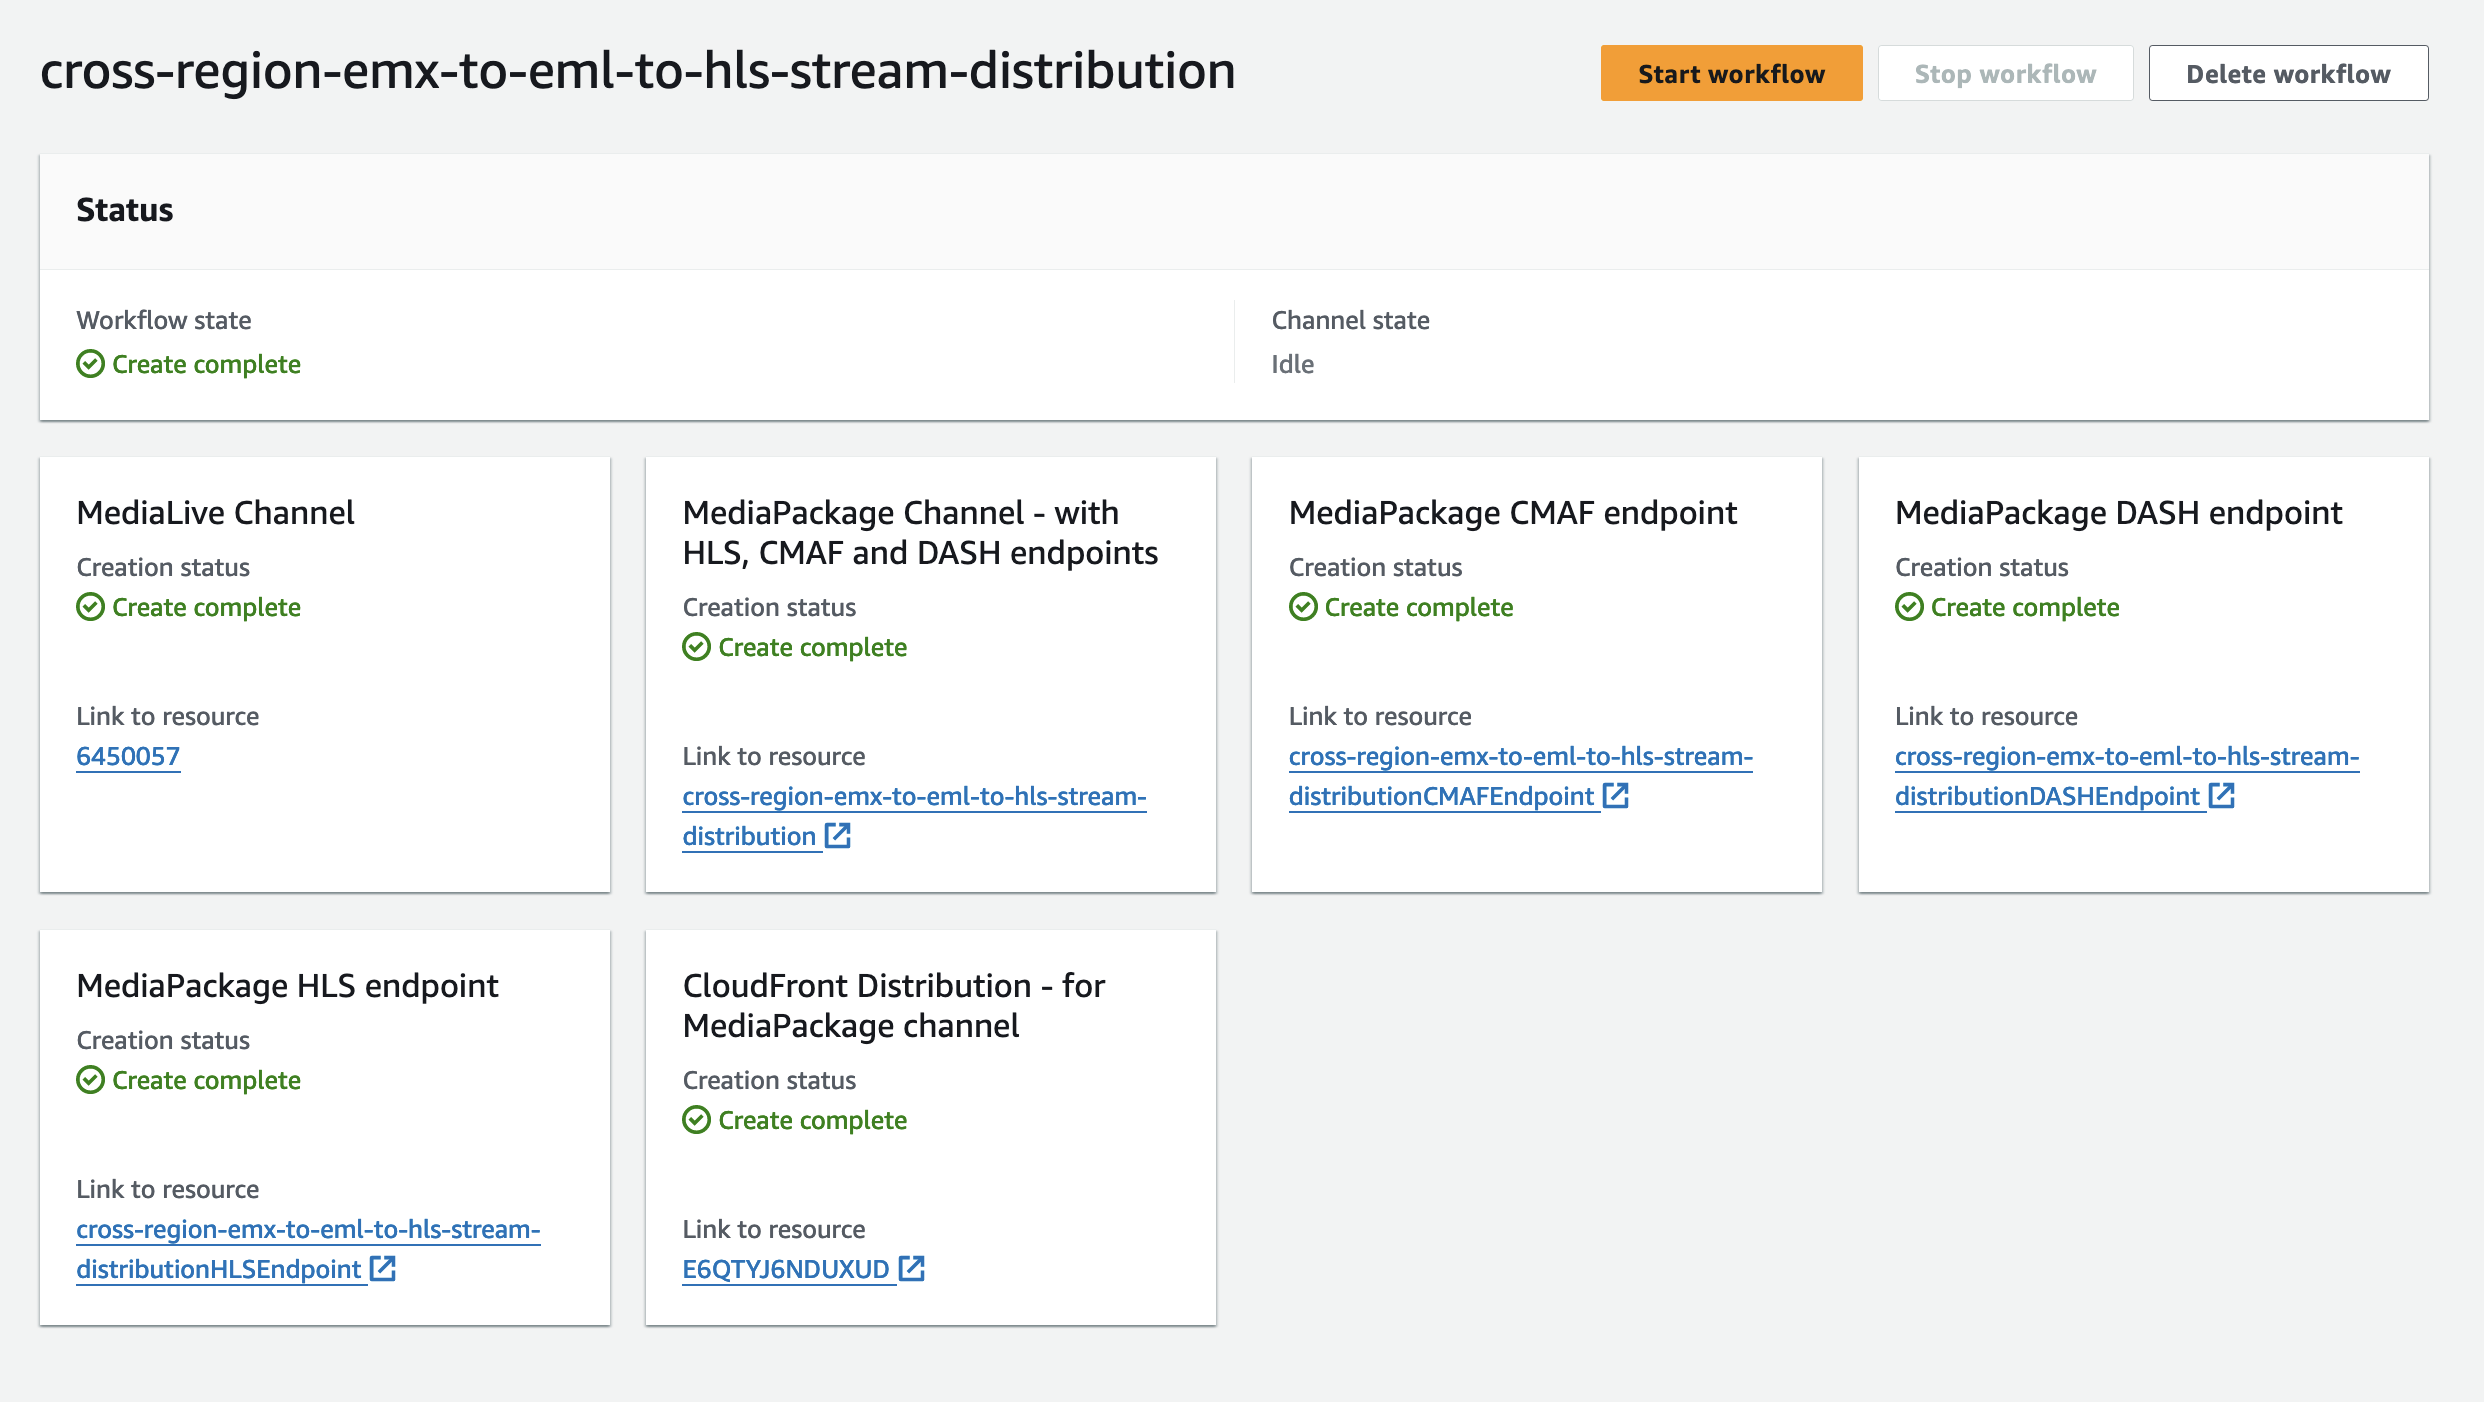
Now, in the next section, let’s test if we can receive the Linear feed as SRT Transport Stream, from the us-east-1 (N. Virginia) region. Plus, if we can consume the HLS fragments on your laptop back on-premises.