Step 3: Setting Up Security Groups
Before starting the labs, we need to create security groups for our MediaConnect flows and for our switcher.
-
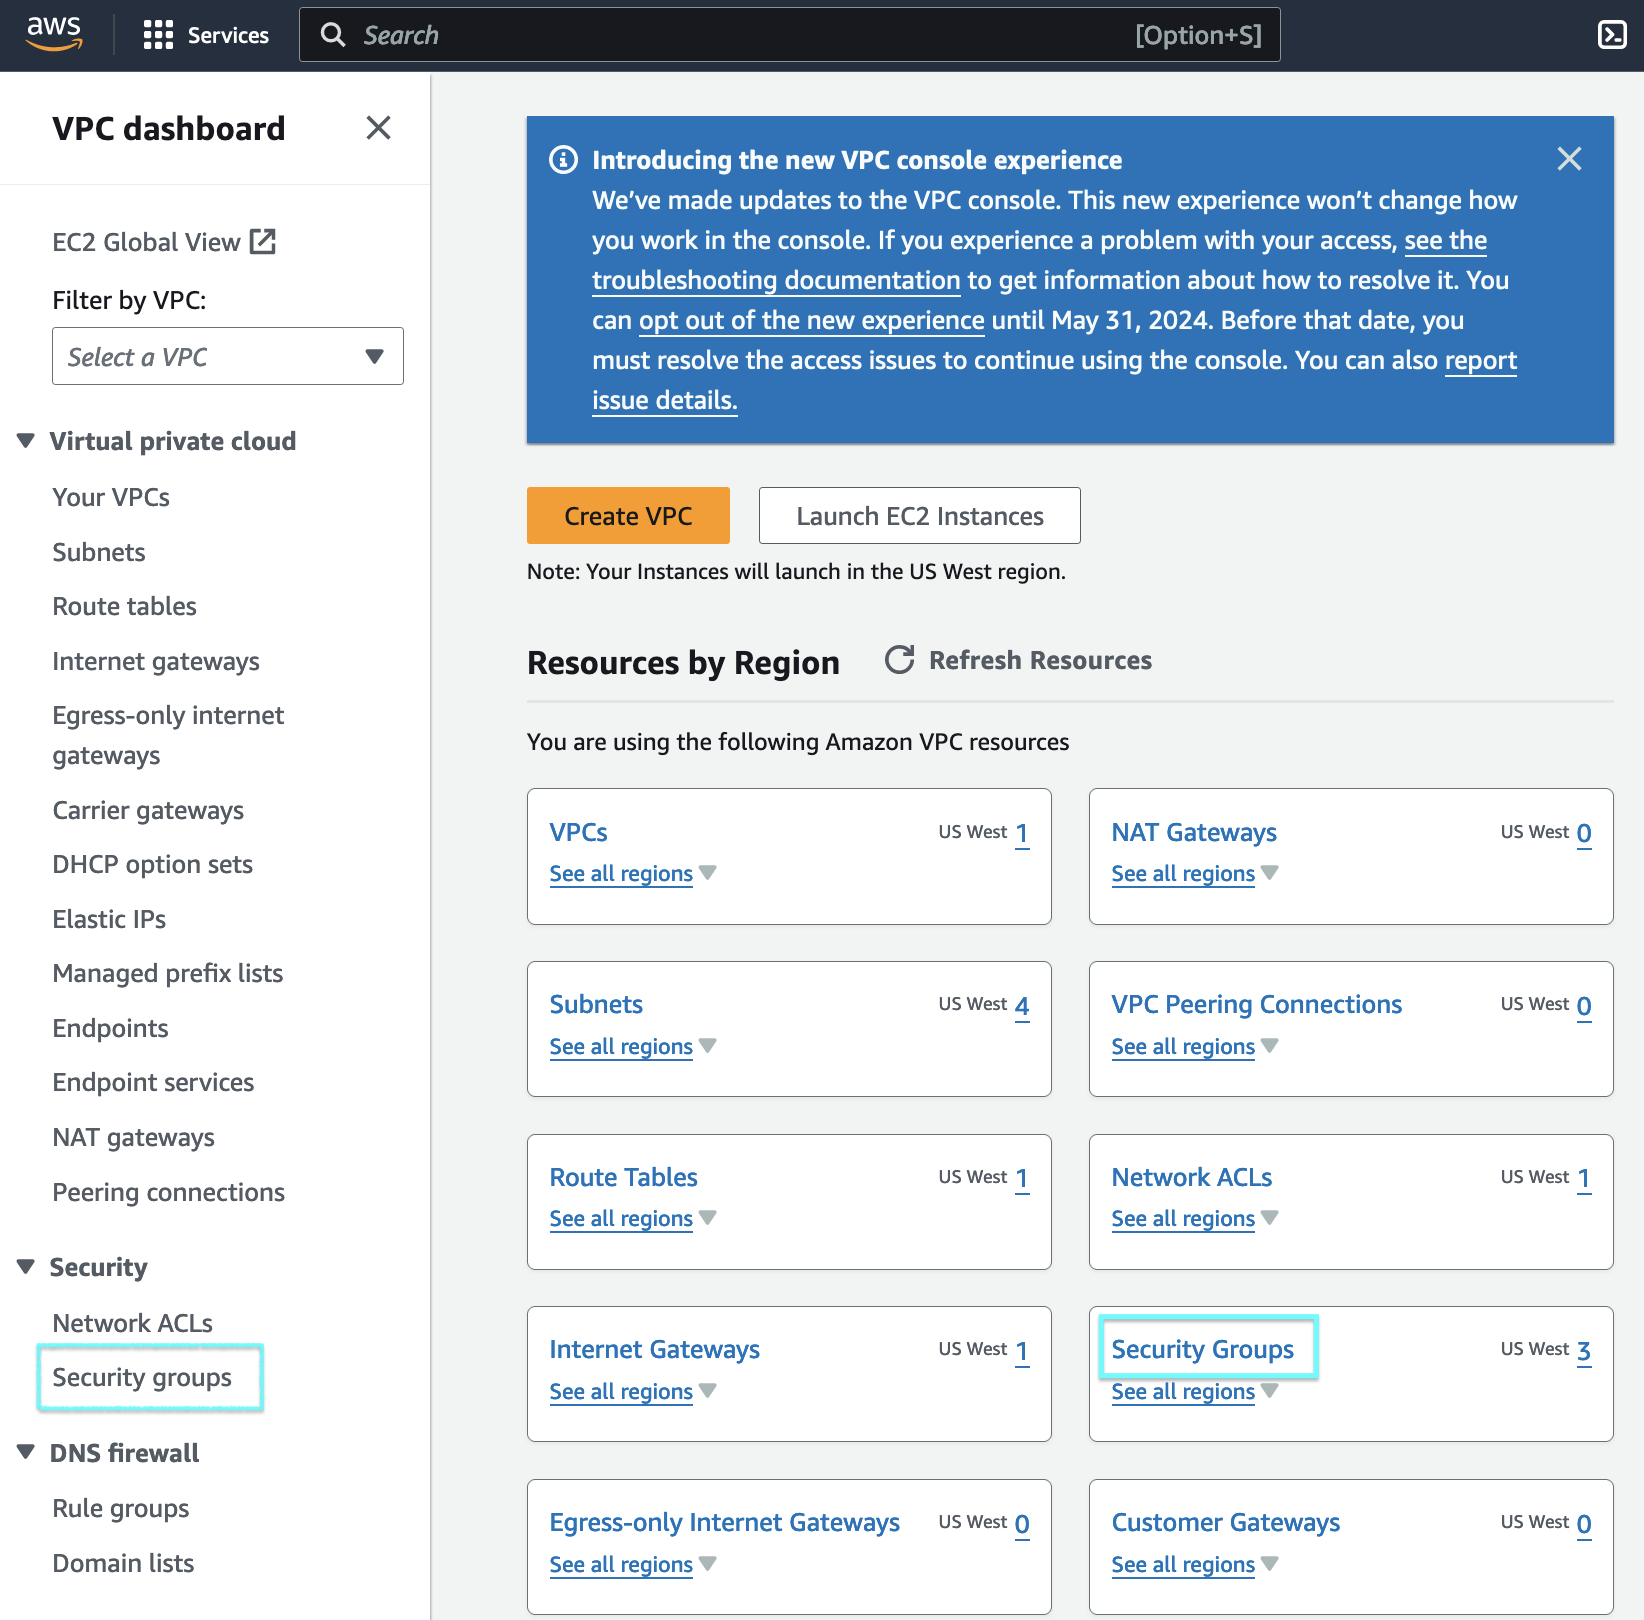
In the search box, type VPC.

-
Click the VPC icon to go to the Amazon VPC service page.
-
Click on Security Groups on the sidebar or on the main page.
Contribution Security Group
-
Click on Create security group on the top right.
-
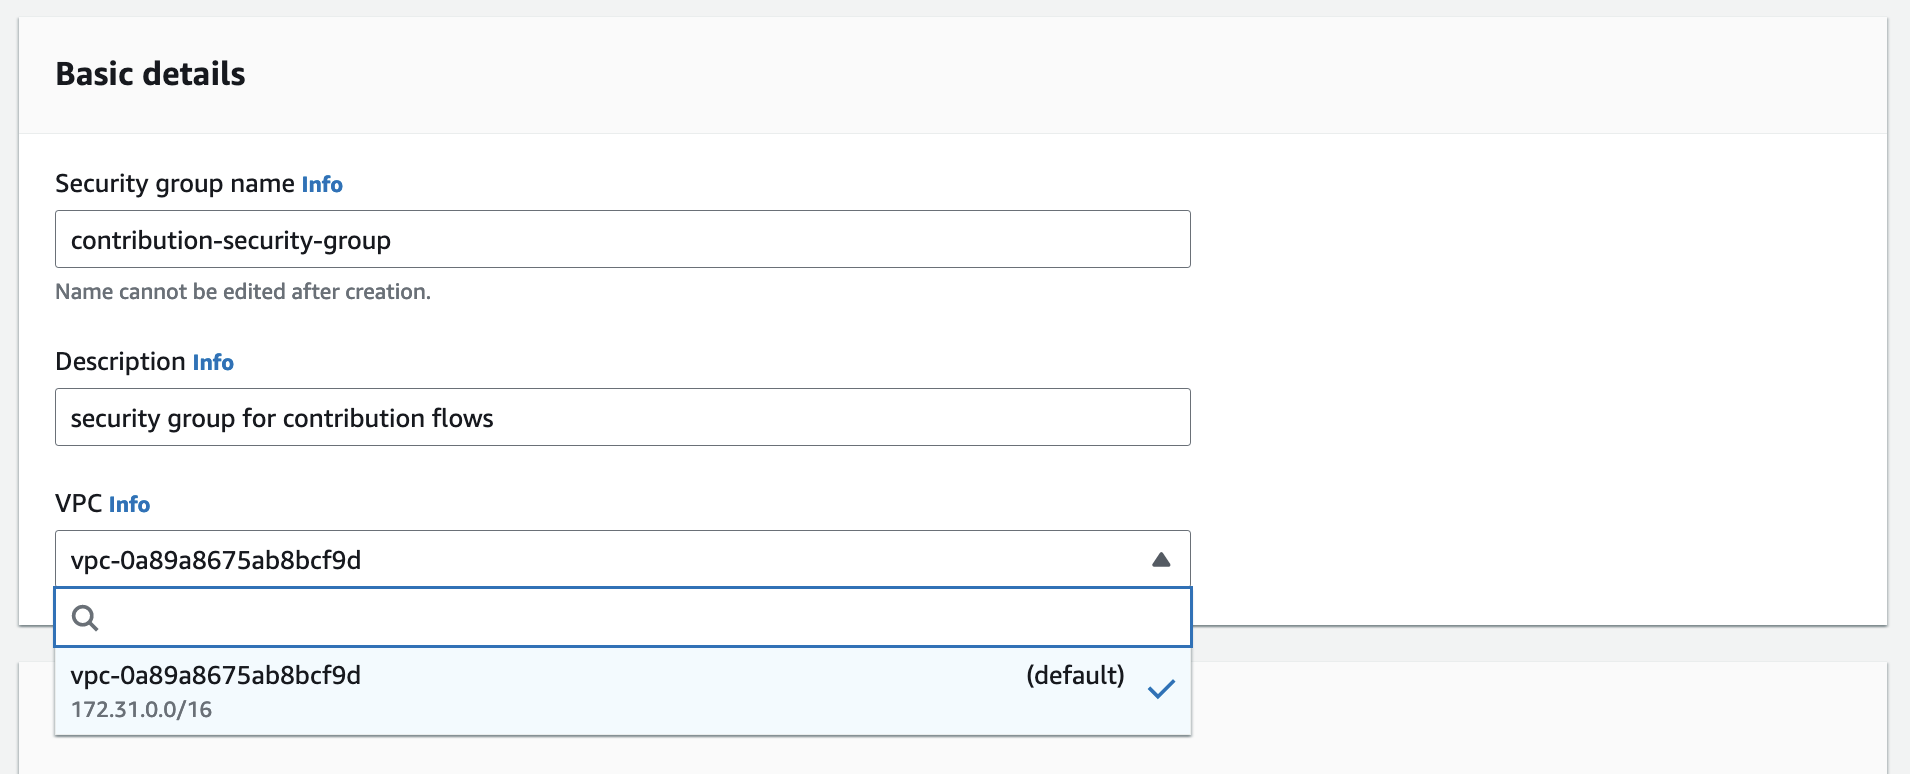
Add a Name for the Security Group. In this example,
contribution-security-group.Enter a Description for our security group.In this example,
security group for contribution flows.Choose a VPC for our security group. In this example, we will use the default VPC .
-
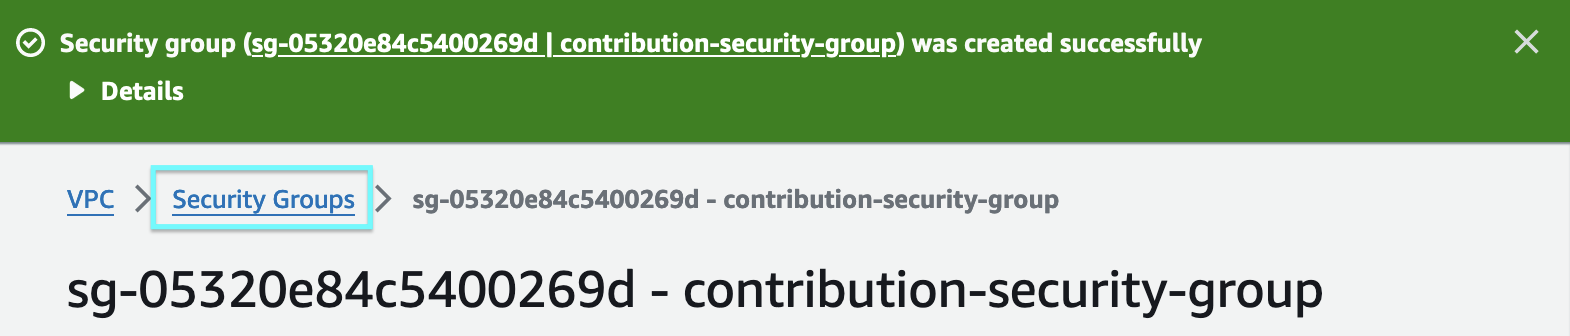
Leave everything else as default and click Create security group.
-
Click on Security Groups on the breadcrumbs to go back to the list of all security groups.
Switcher Security Group
-
Click on Create security group on the top right.
-
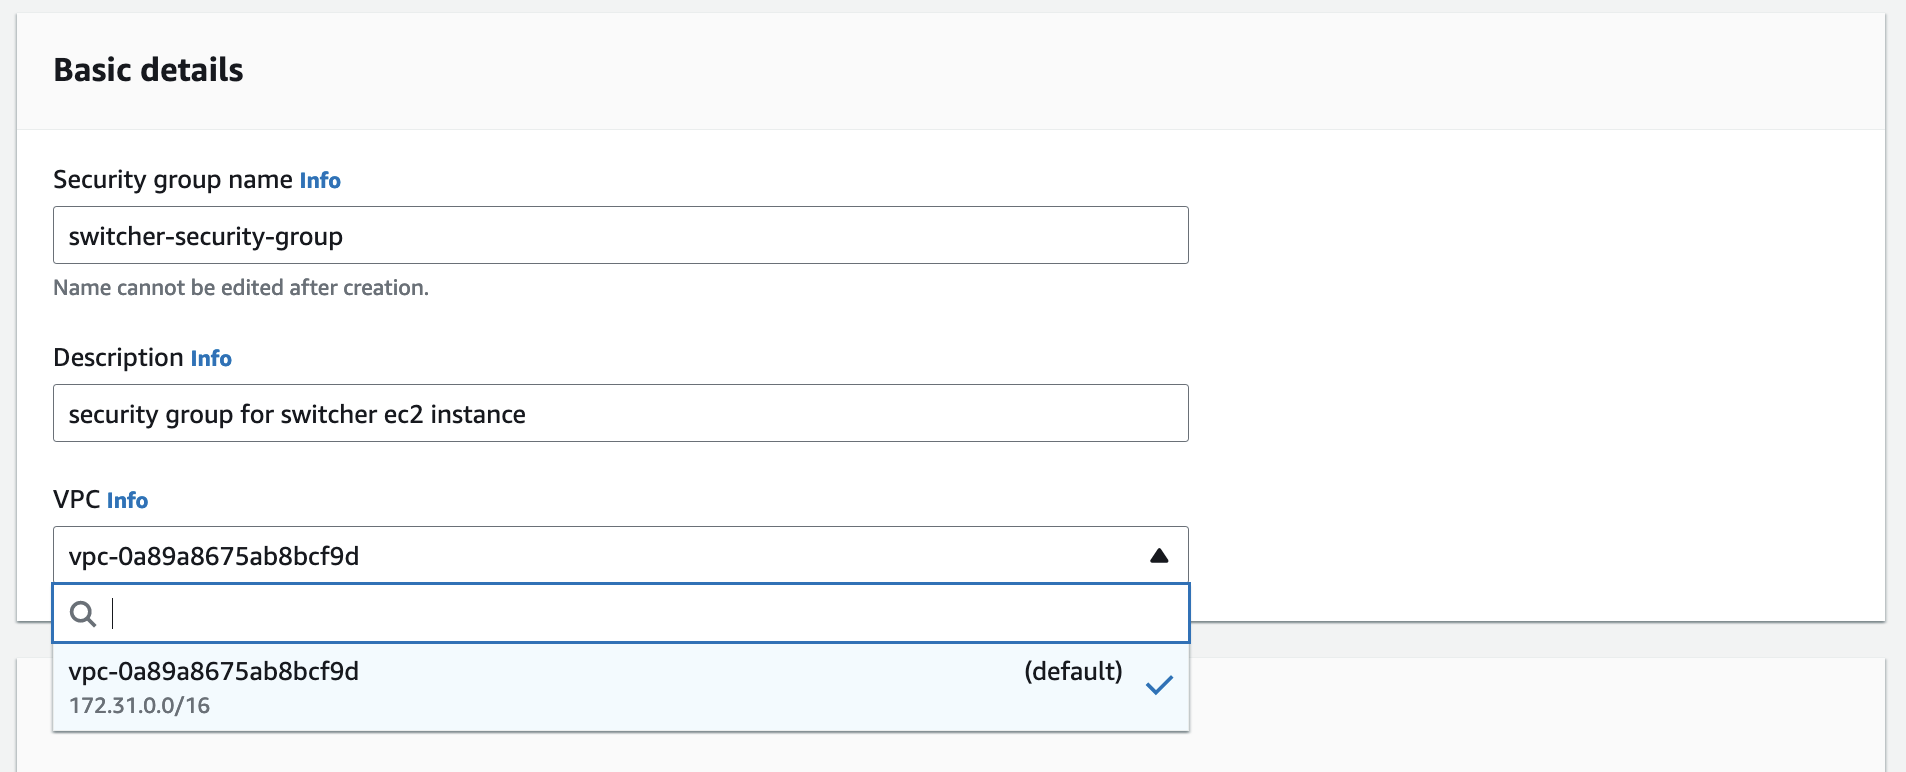
Add a Name for the Security Group. In this example,
switcher-security-group.Enter a Description for our security group. In this example,
security group for switcher ec2 instance.Choose a VPC for our security group. In this example, we will use the default VPC .
-
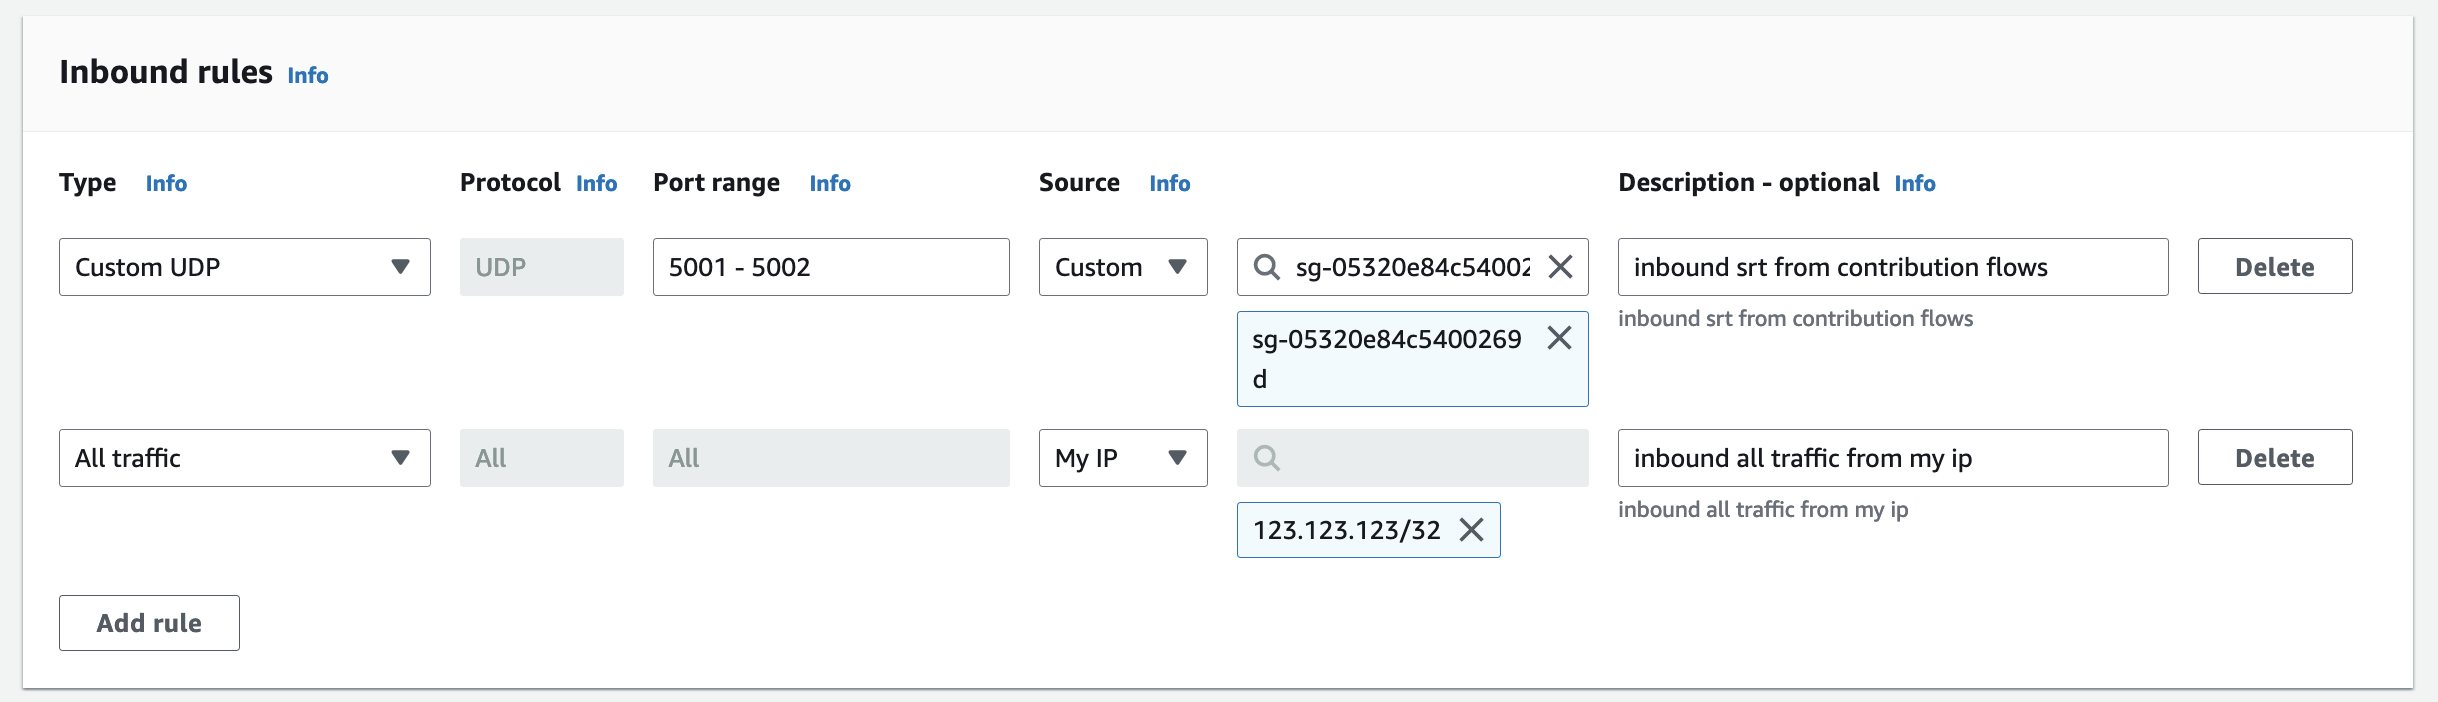
Under Inbound rules, click on Add rule to create a security group rule to allow SRT traffic from resources using the
contribution-security-groupto resources using theswitcher-security-group.
-
Select Custom UDP for Type.
Enter a 5001-5002 for Port range.
Select the box with the magnifying glass to choose the
contribution-security-groupwe created earlier.Enter a Description for our security group rule. In this example,
inbound srt from contribution flows.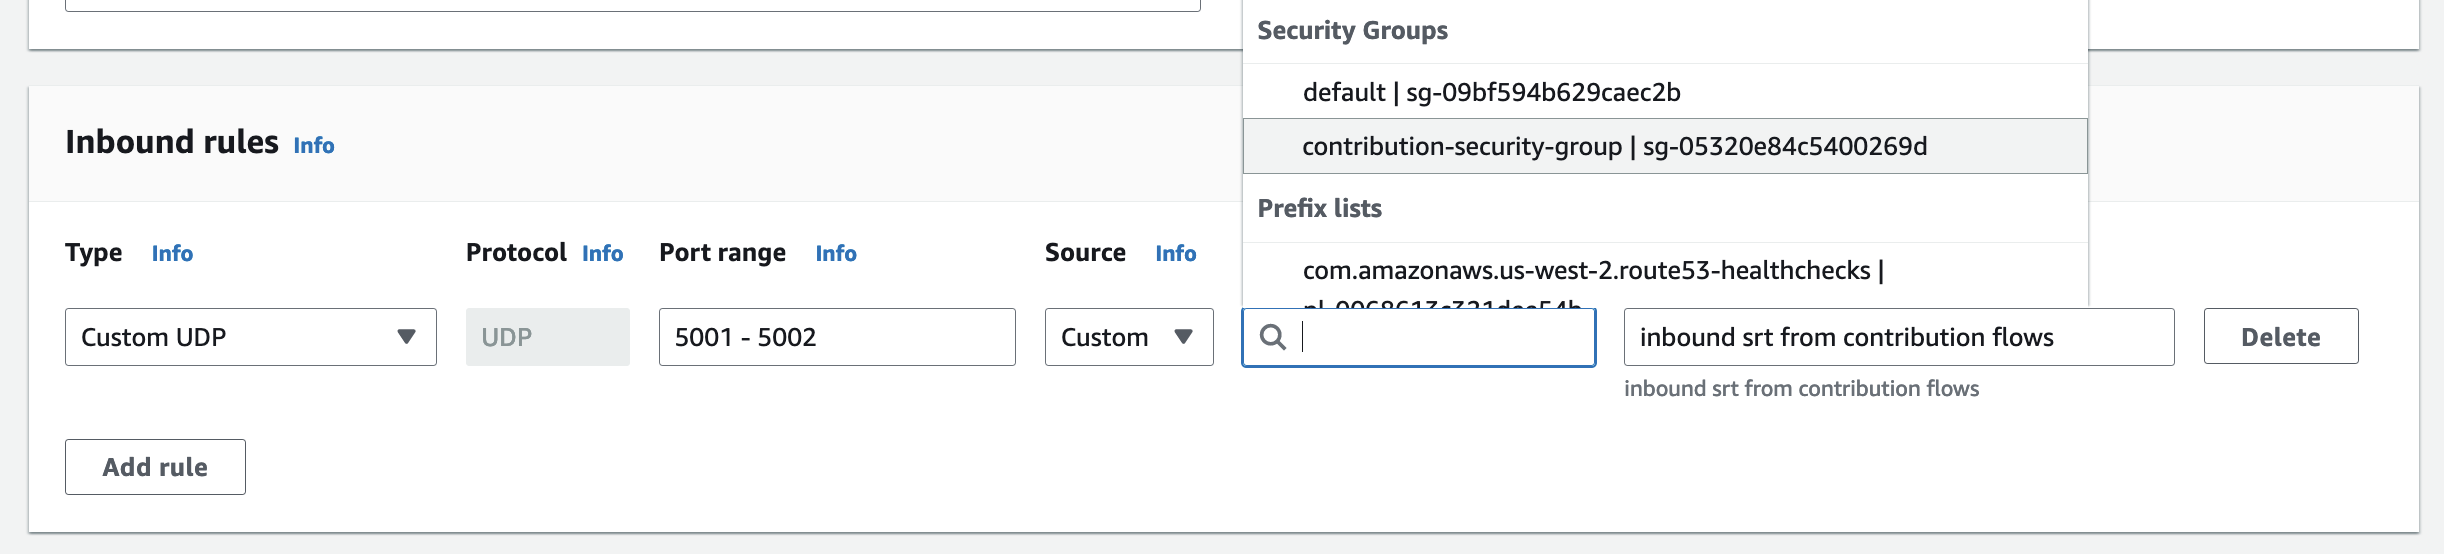
-
Click on Add rule again to create a security group rule to allow all traffic from your own IP to resources using the
switcher-security-group. -
Select All traffic for Type.
Select the box with the custom to choose My IP.
Enter a Description for our security group rule. In this example,
inbound all traffic from my ip.
You should now have two inbound security group rules.
-
Leave everything else as default and click Create security group.
-
Click on Security Groups on the breadcrumbs to go back to the list of all security groups.

Distribution Security Group
-
Click on Create security group on the top right.
-
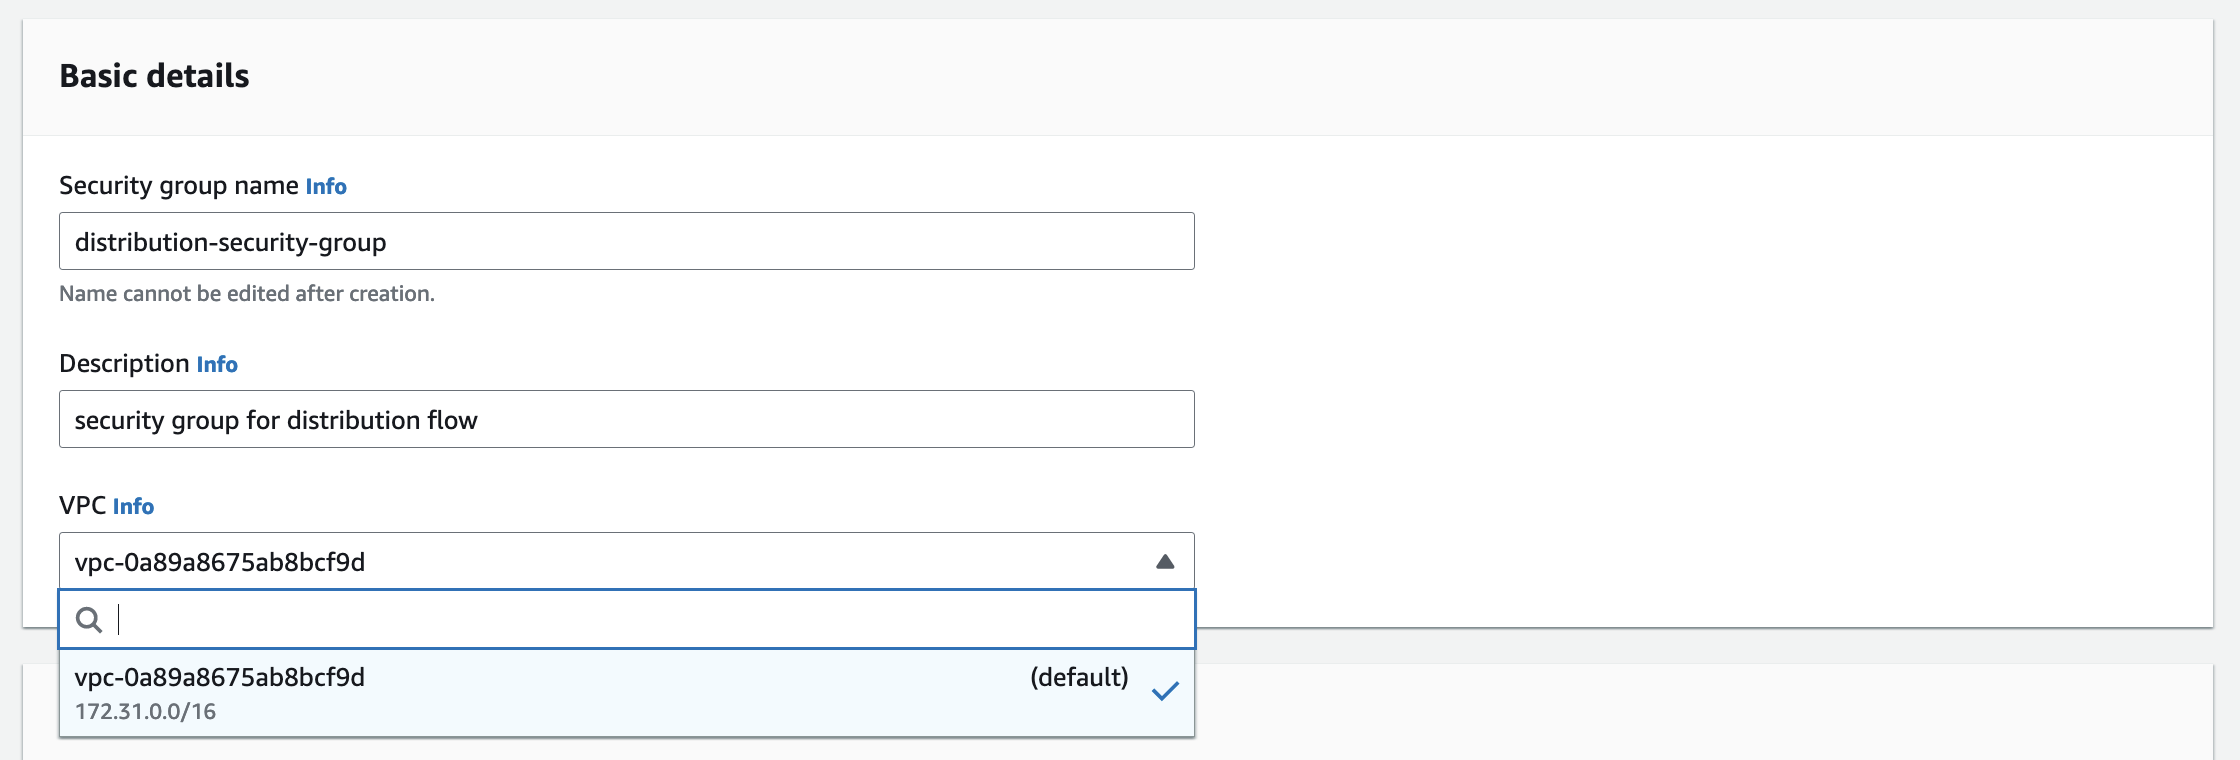
Add a Name for the Security Group. In this example,
distribution-security-group.Enter a Description for our security group. In this example,
security group for distribution flow.Choose a VPC for our security group. In this example, we will use the default VPC .
-
Under Inbound rules, click on Add rule to create a security group rule to allow SRT traffic from resources using the
switcher-security-groupto resources using thedistribution-security-group.
-
Select Custom UDP for Type.
Enter a 8000 for Port range.
Select the box with the magnifying glass to choose the
switcher-security-groupwe created earlier.Enter a Description for our security group rule. In this example,
inbound srt from switcher.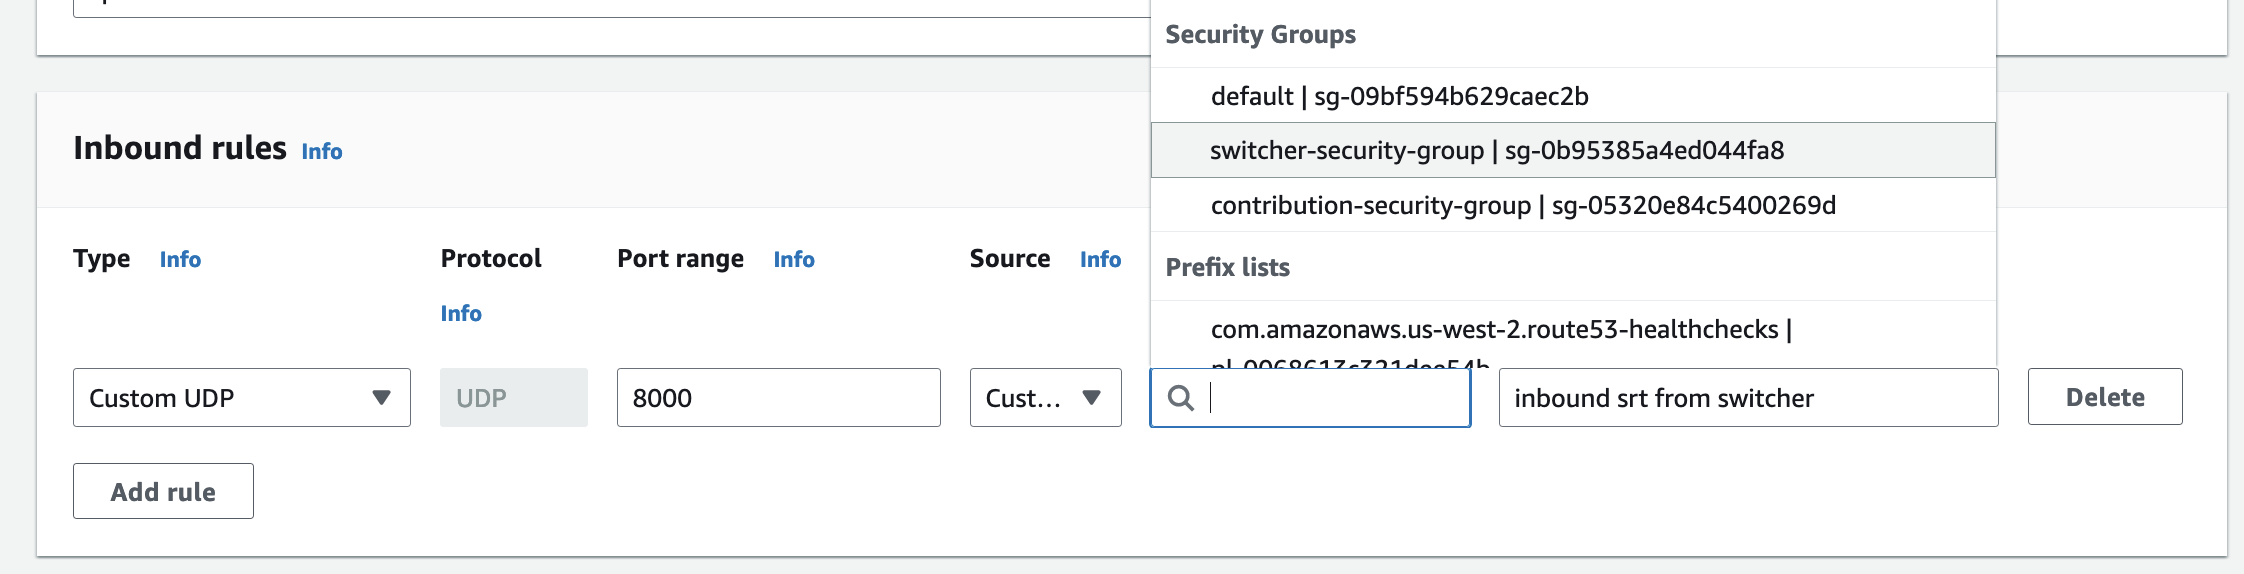
-
Leave everything else as default and click Create security group.
-
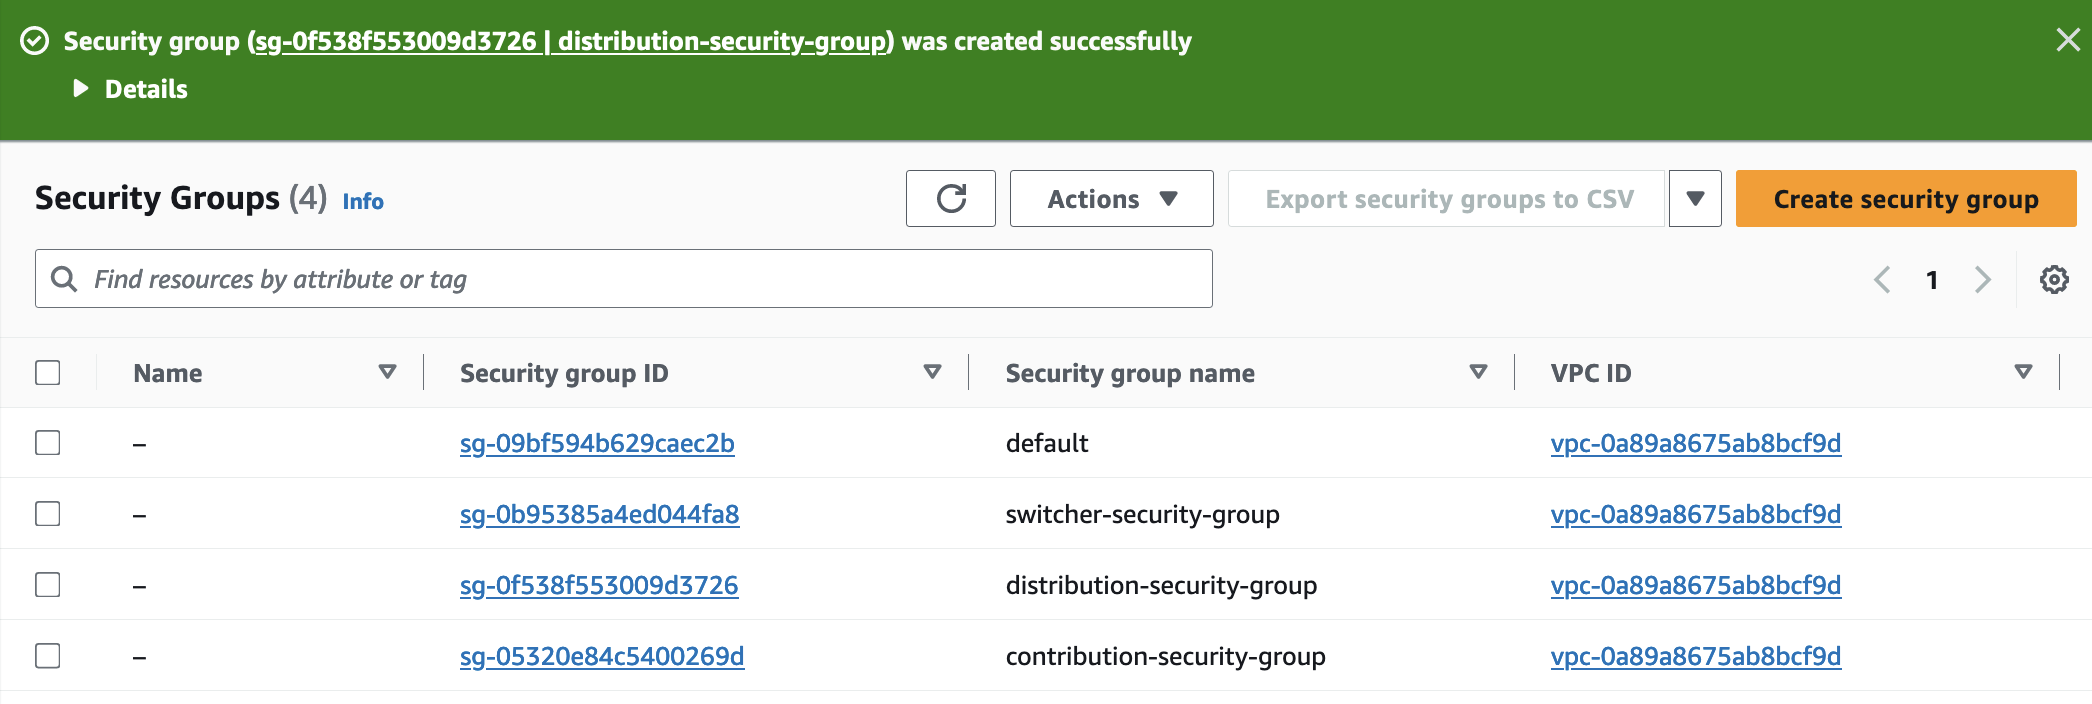
Click on Security Groups on the breadcrumbs to go back to the list of all security groups.

-
You should now see your three security groups listed along with the VPC’s
defaultsecurity group.