Step 5: Creating MediaLive Channels (Optional)
If you don’t have a live source, you can create a simulated source using MediaLive.
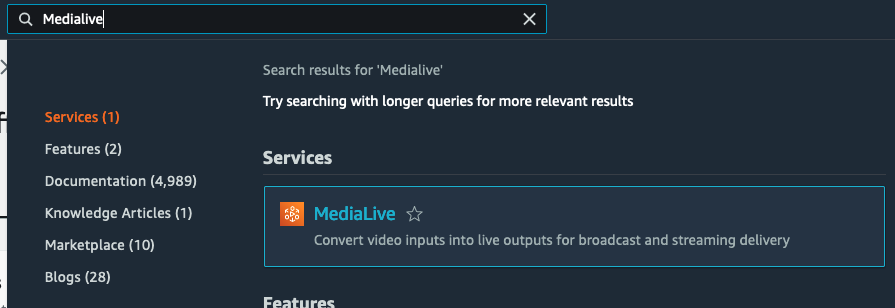
In the search bar, type MediaLive.
MediaLive Channel
-
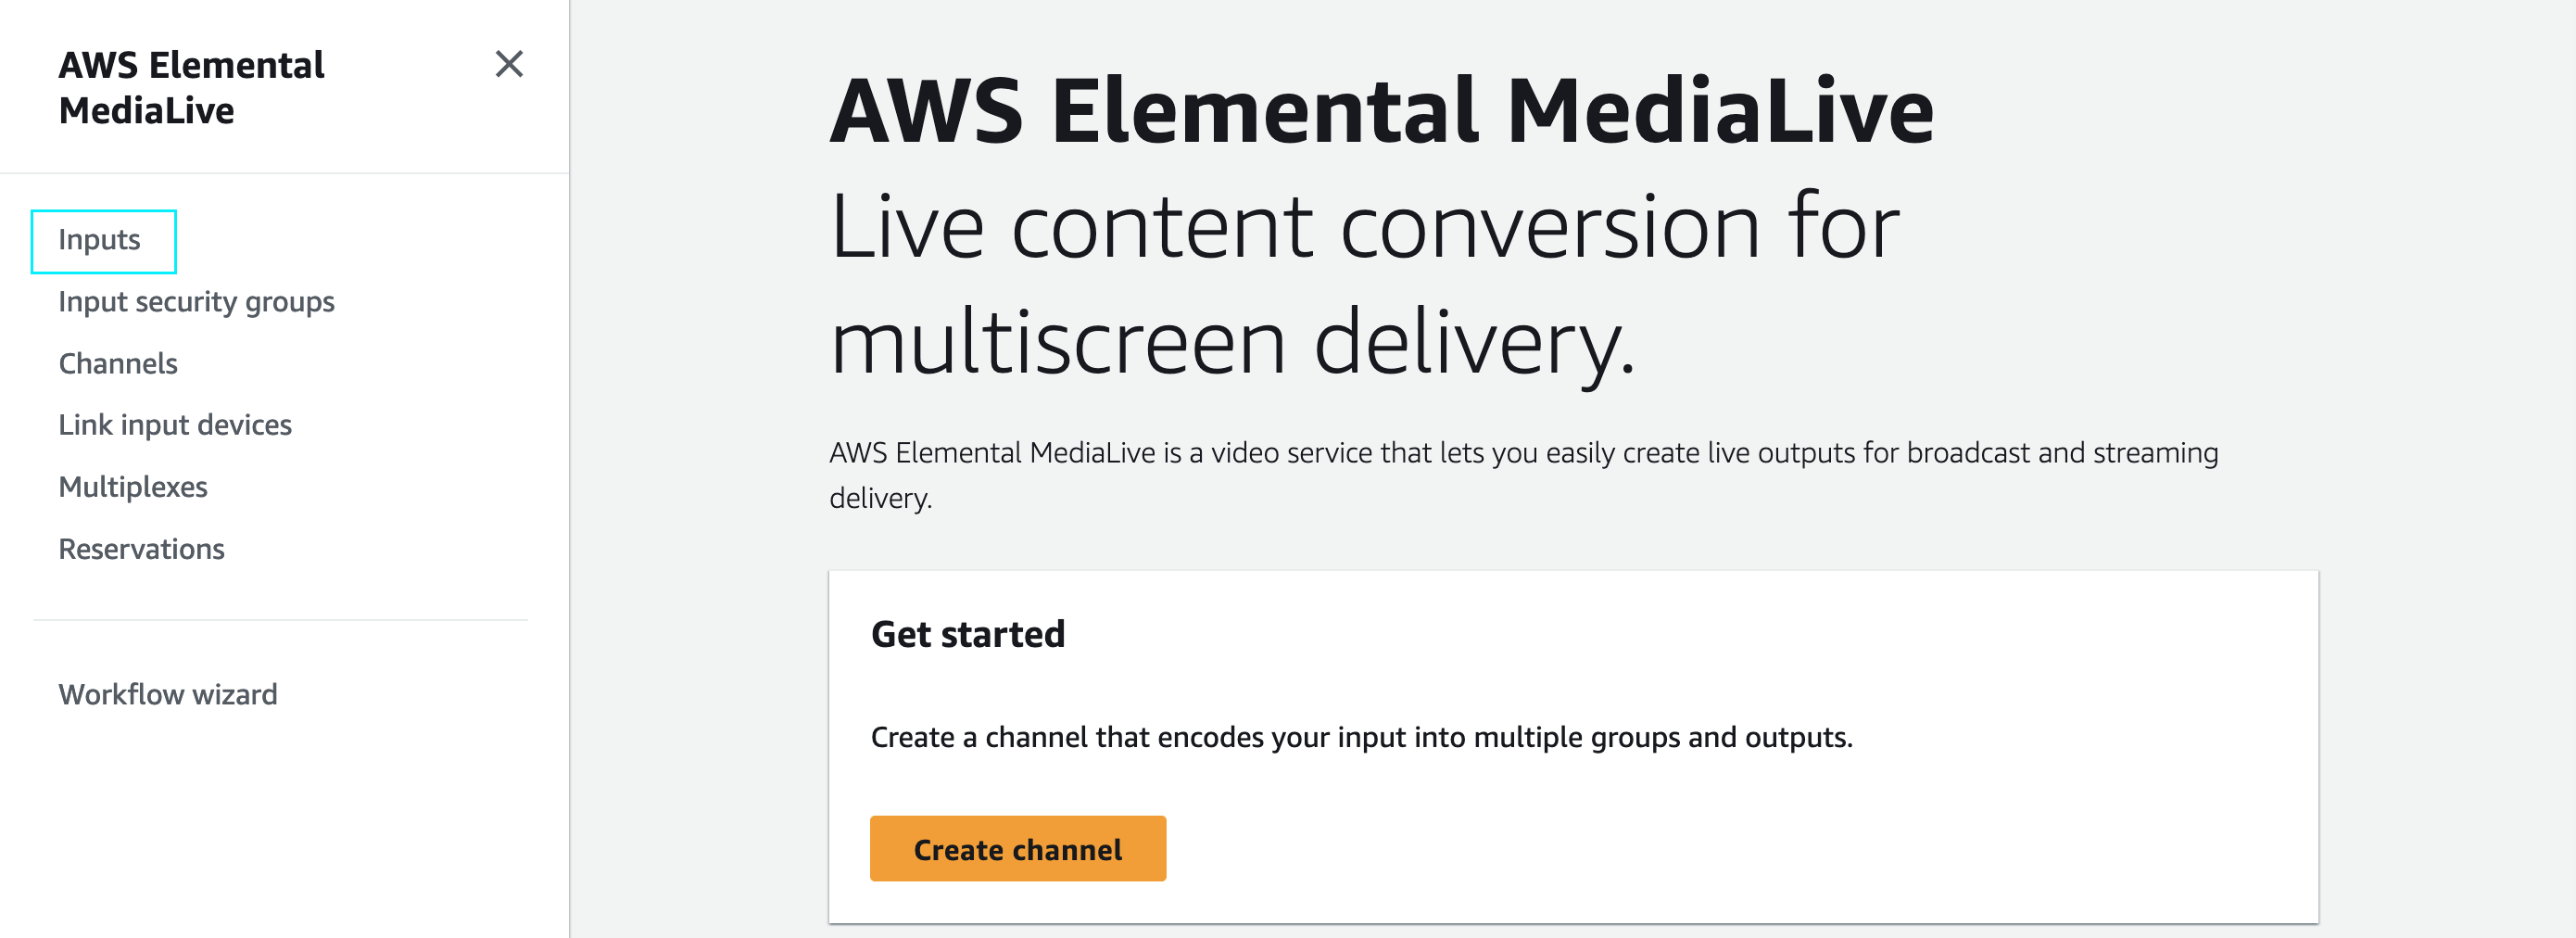
Let’s first create an input for the channel. On the side bar in the left, select Inputs
-
Click Create Input

-
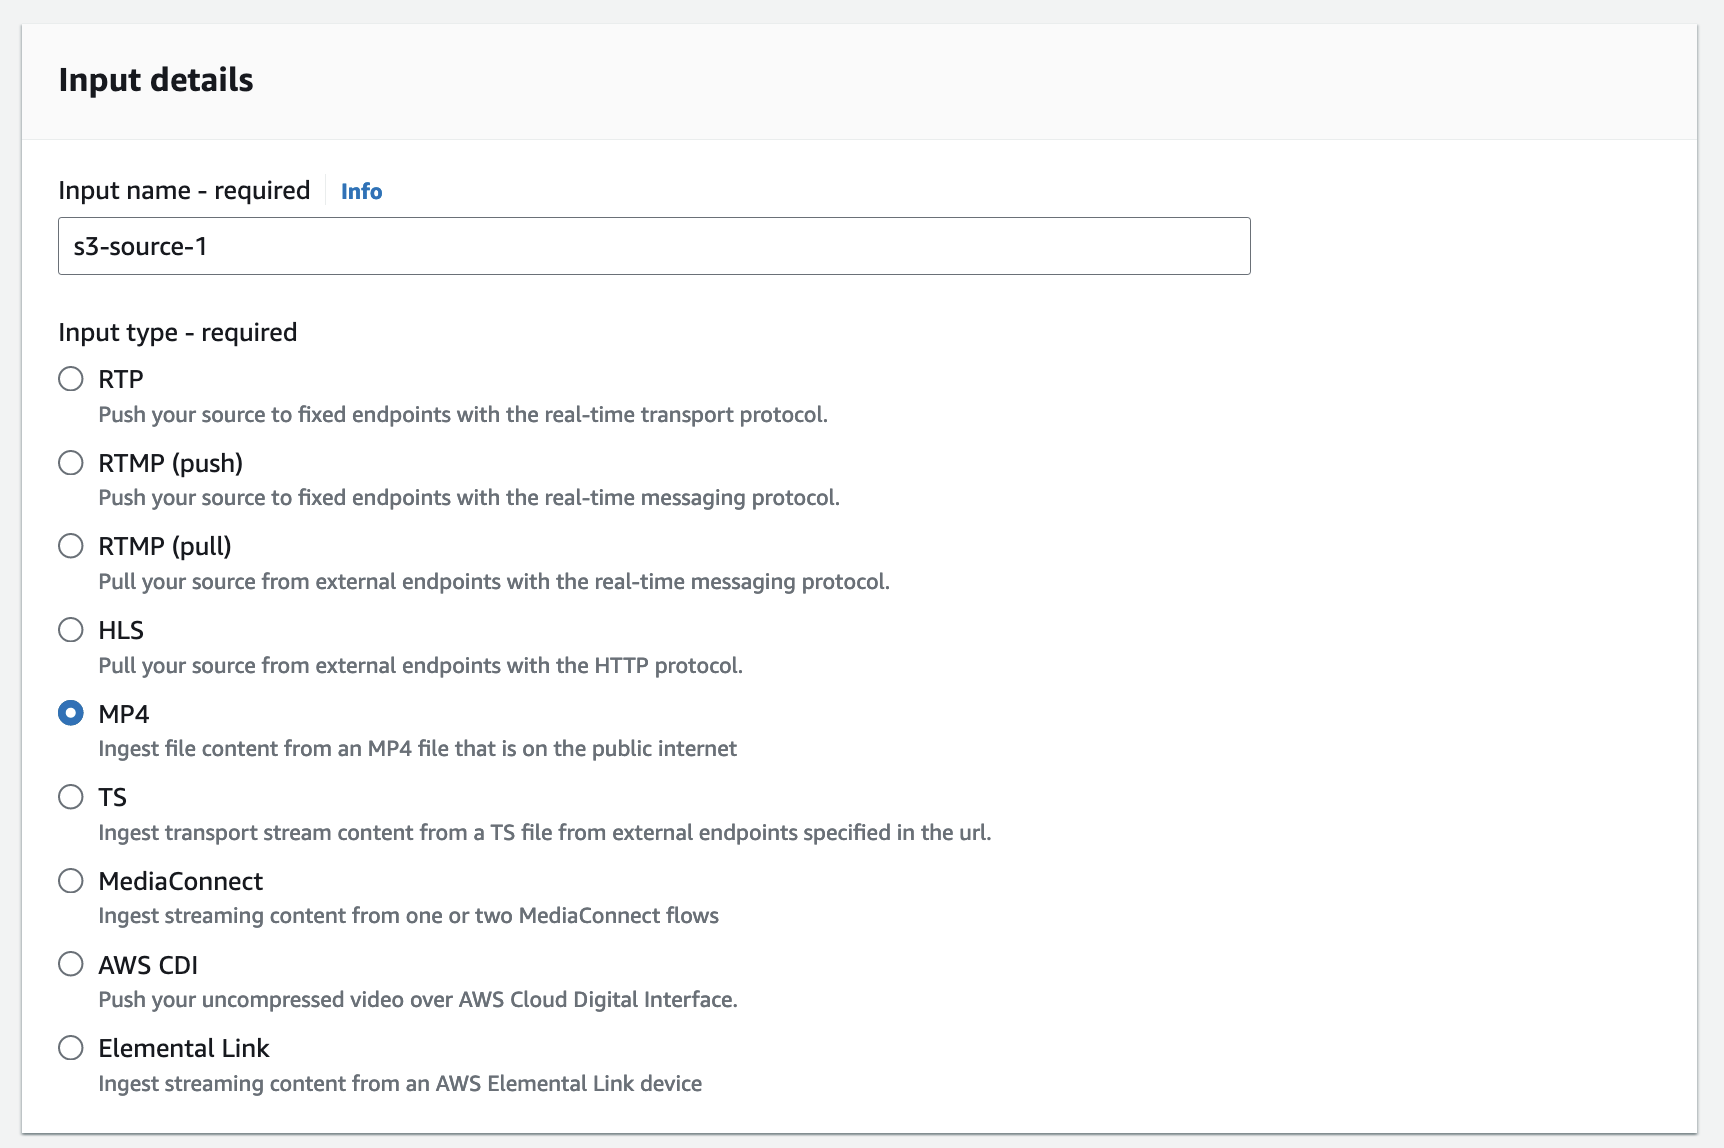
Under Input details, specify the following configuration.
Under Input name - required, type in
s3-source-1.Under Input type - required, select MP4
Under Input class, select SINGLE_INPUT.

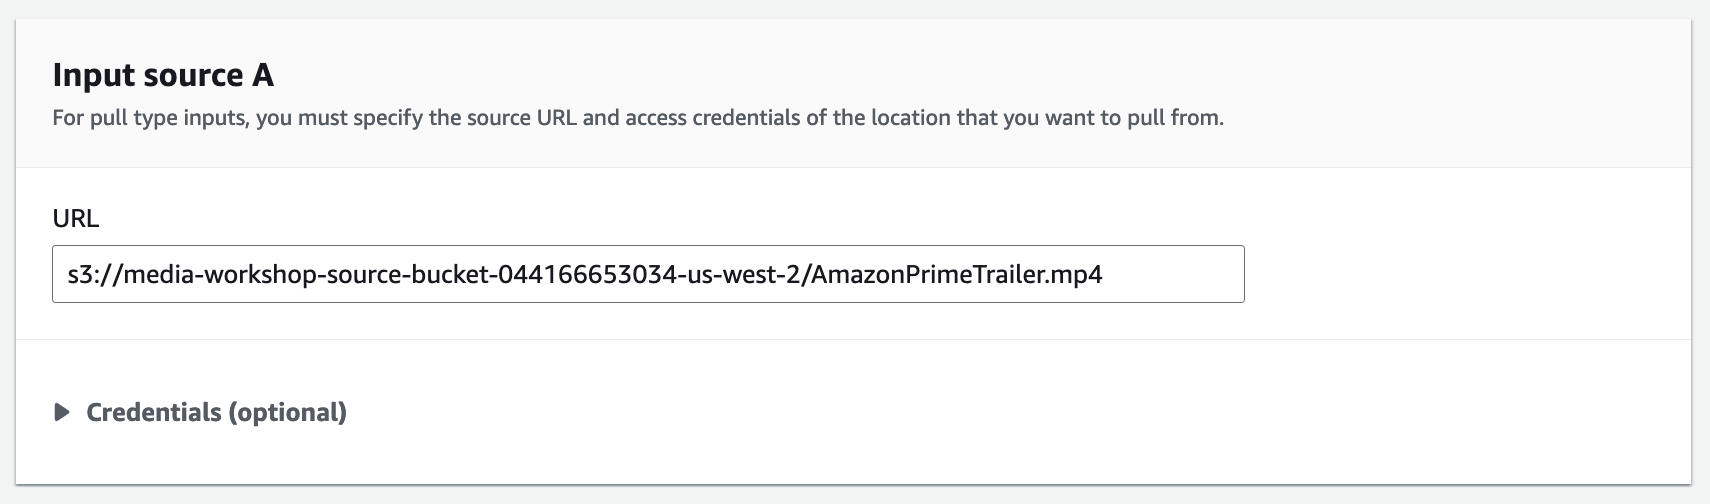
Under Input source A and URL, type in the s3 url for one of your S3 sources that you uploaded earlier.
Now click Create input.

-
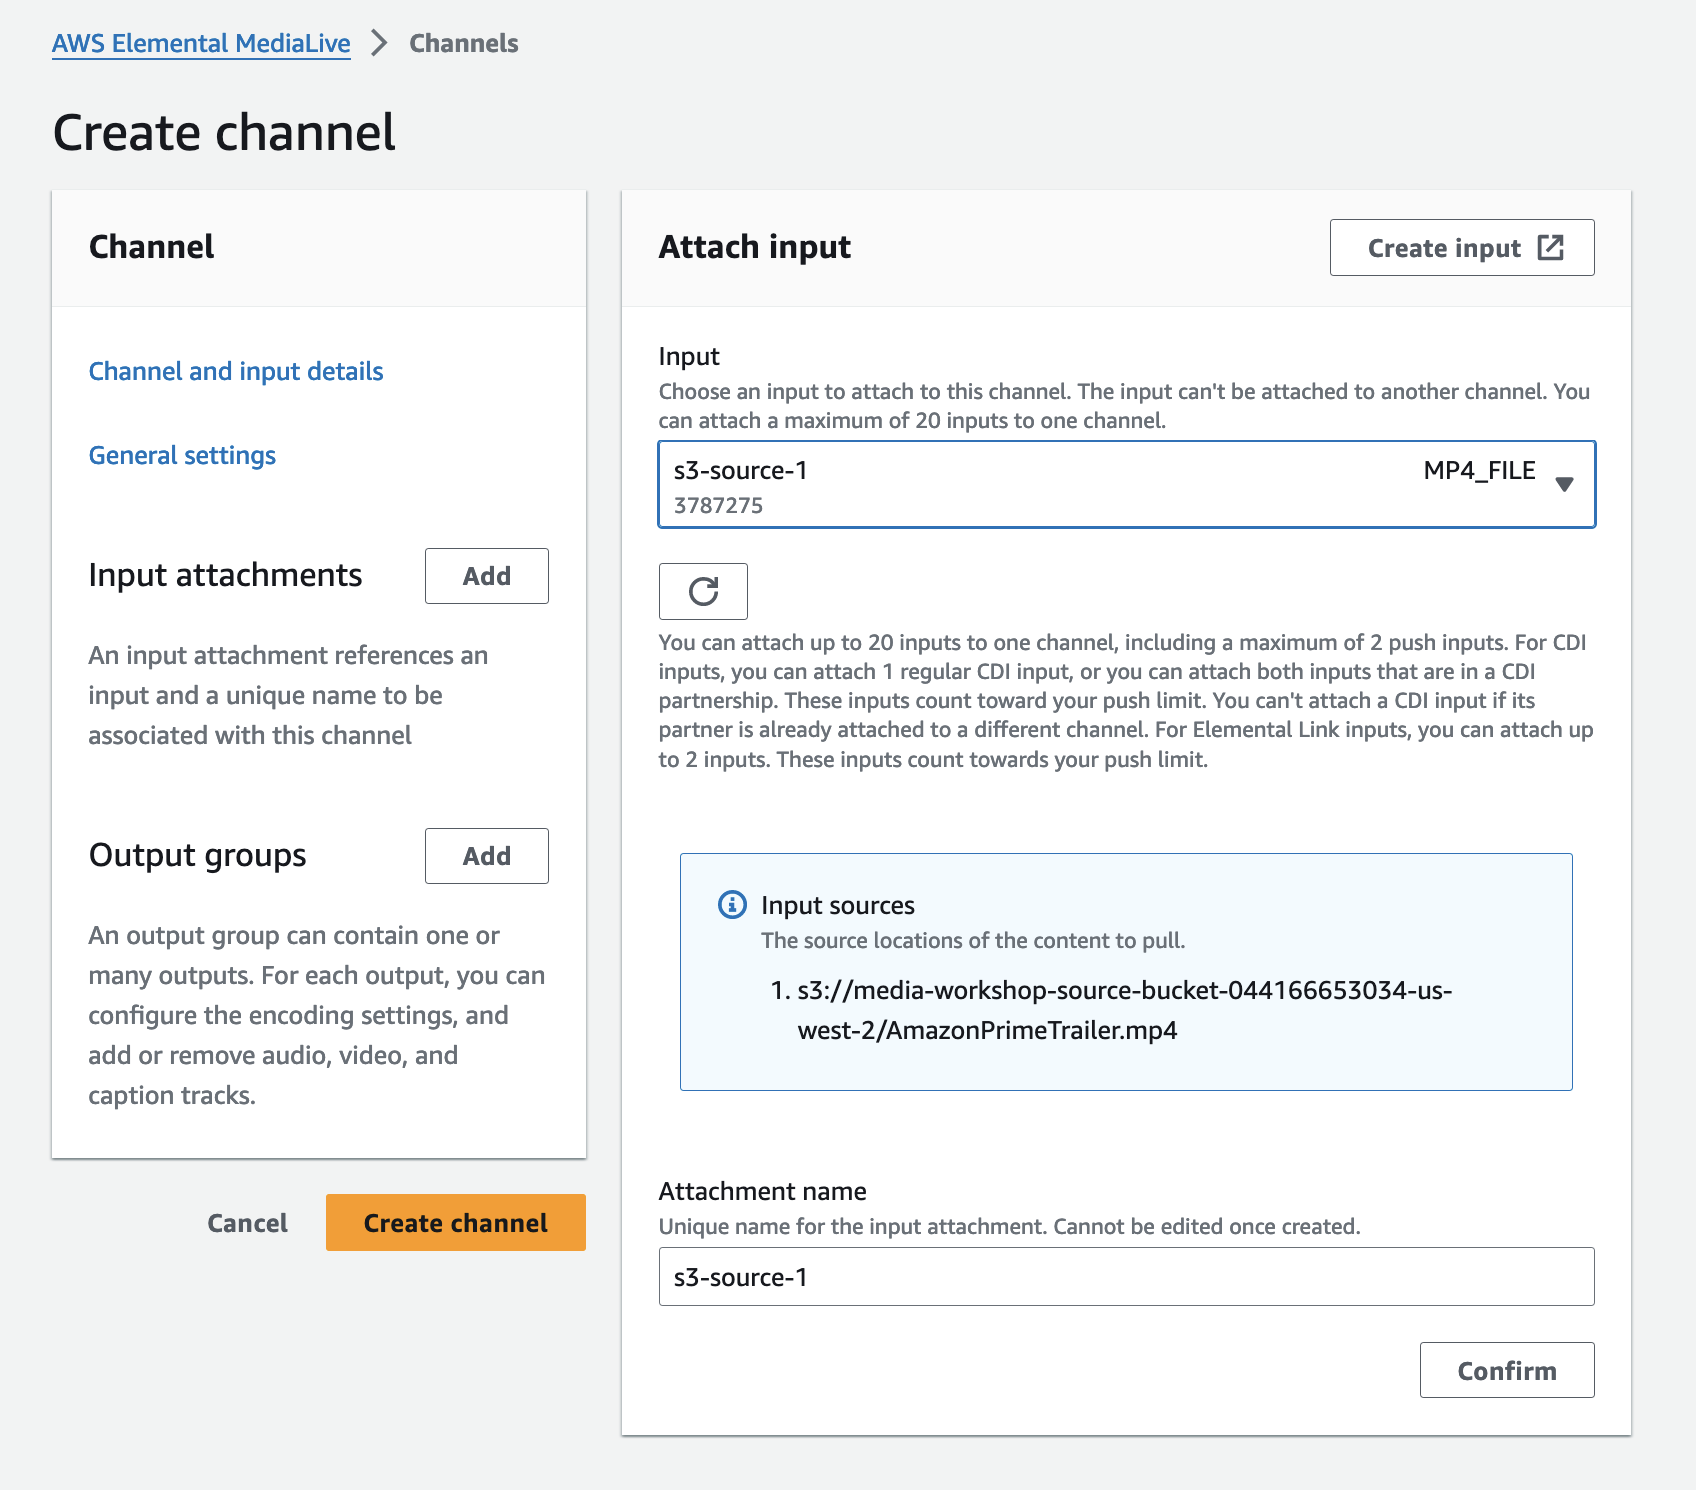
With the Input created, let’s create the Channel itself. Go to Channels. Click Create channel.

-
Start by adding Input Attachtments, by clicking the Add button within the left Channel panel section. Then select the Input created in the previous step. Click Confirm
-
In the General input setting section, change the drop down menu Source End Behavior field to LOOP. That way, the file will keep looping. Leave the other options as default.

-
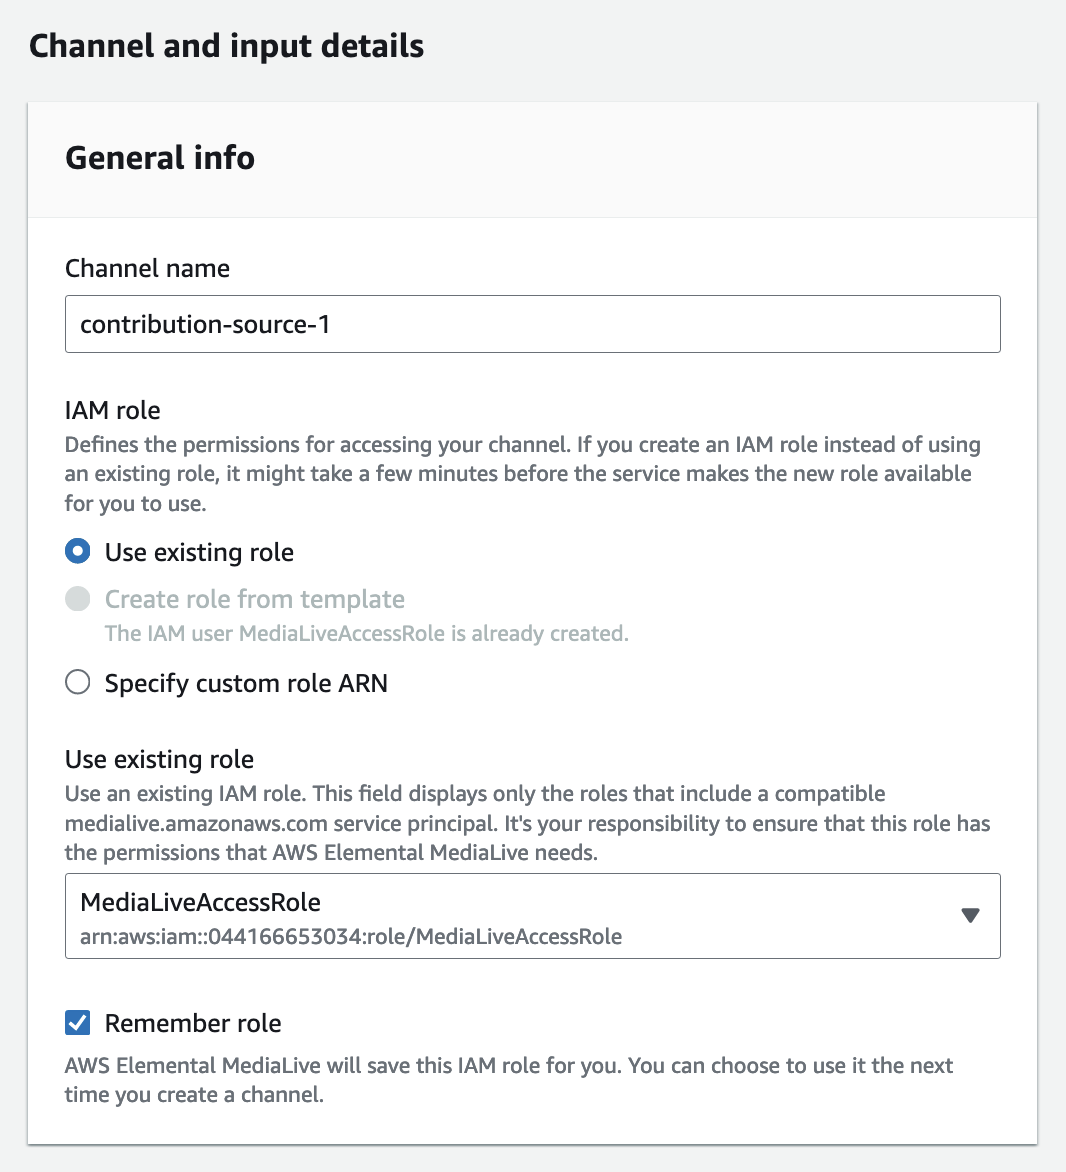
Now, let’s configure the Channel itself. Click on the Channel and input details. Give the channel a Name. As an example, use
contribution-source-1. Under the IAM role, use the default selection “Create role from temple option”. Then click Create IAM Role. Select Use existing role to select the newly created roleMediaLiveAccessRole.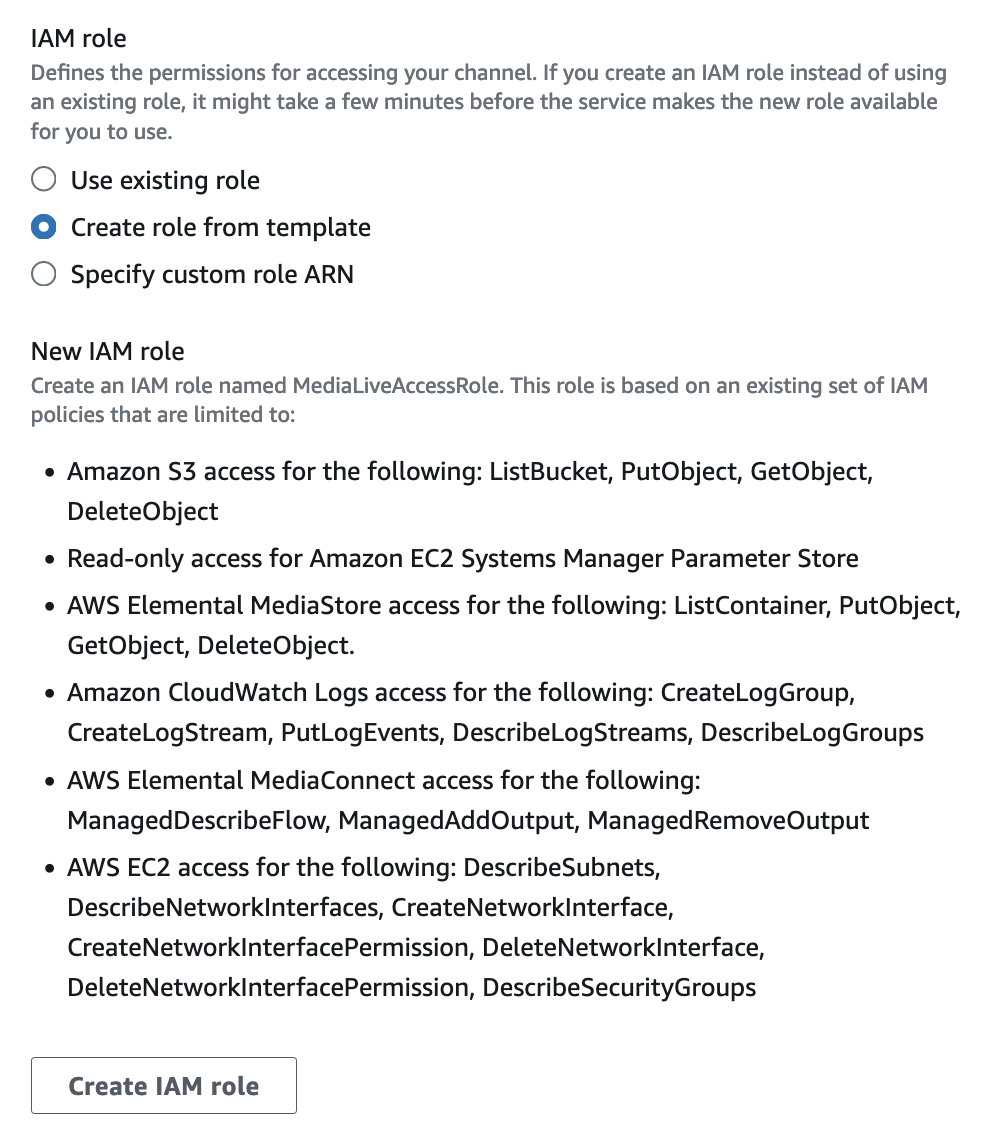
-
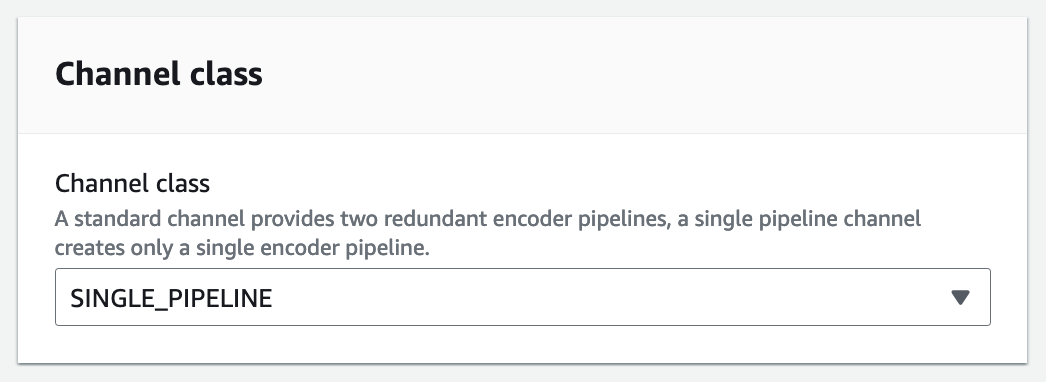
Scroll down and look for the Channel class section. Select SINGLE_PIPELINE. Leave the other options as defaults.
-
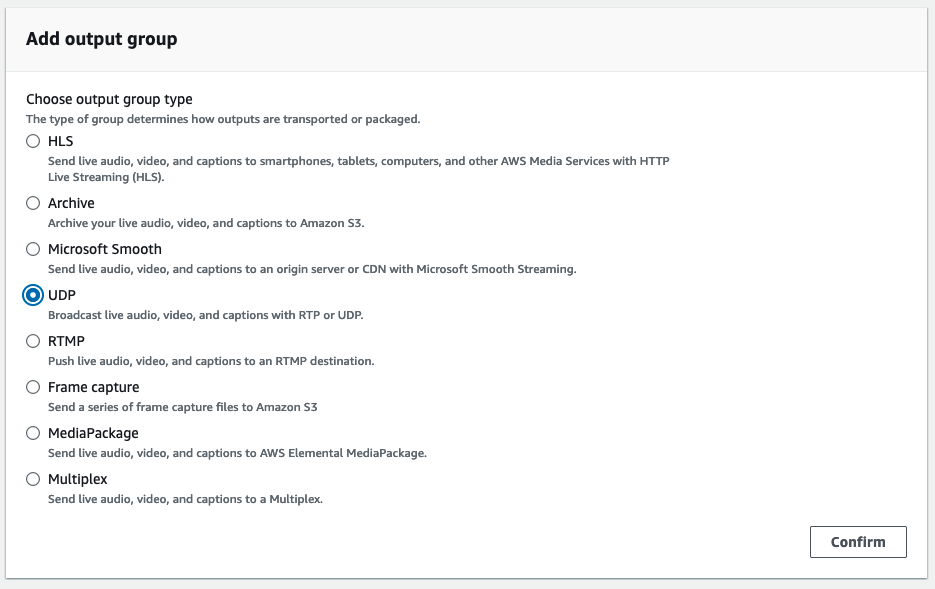
In the Output groups, within the left Channel panel section, click on the Add button. Select UDP. Click Confirm.
-
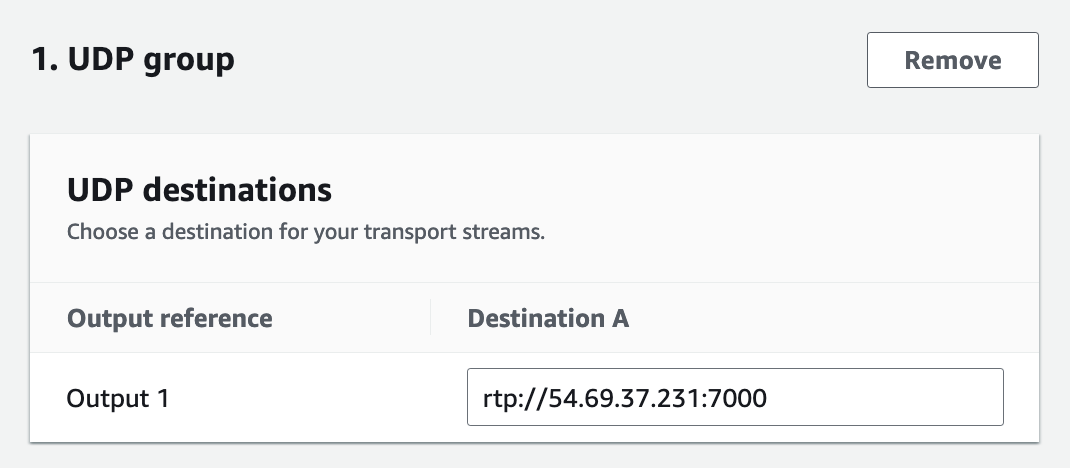
Under Output 1 within UDP destinations type in the corresponding Contribution MediaConnect Flow IP and port, with the RTP sufix, for example,
rtp://<your-emx-ip>:7000
-
Scroll down and click on Settings, inside the UDP Output section.
-
Now you can define the encoding parameters for this Output Group. Select H264 as Codec Settings. Go to Rate Control and enter Bitrate as
8000000to force the encoder to generate a 8 Mbps feed. Change the GOP Size to 1 second and GOP Size Units to SECONDS.
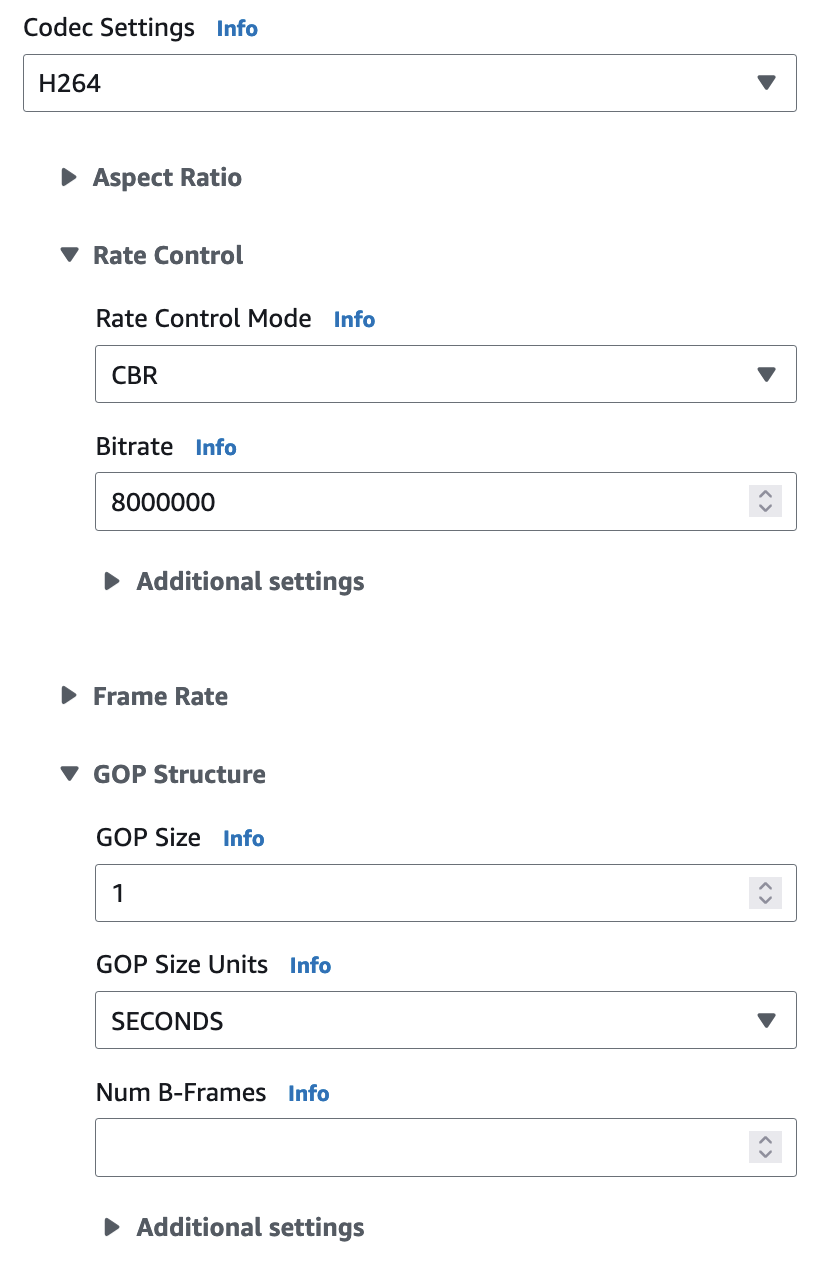
-
Leave the other options blank, or default. Finally, scroll back up and click Create Channel. At this point the channel is configured, but we will not start the channel.
-
Repeat steps 1-16 with a second source video file and create a corresponding input
s3-source-2and MediaLive channelcontribution-source-2.