Step 1: Setting Up Source Bucket
Before starting the labs, we need to add a source file to a Amazon S3 bucket. This bucket and file will be used in the upcoming lab exercises.
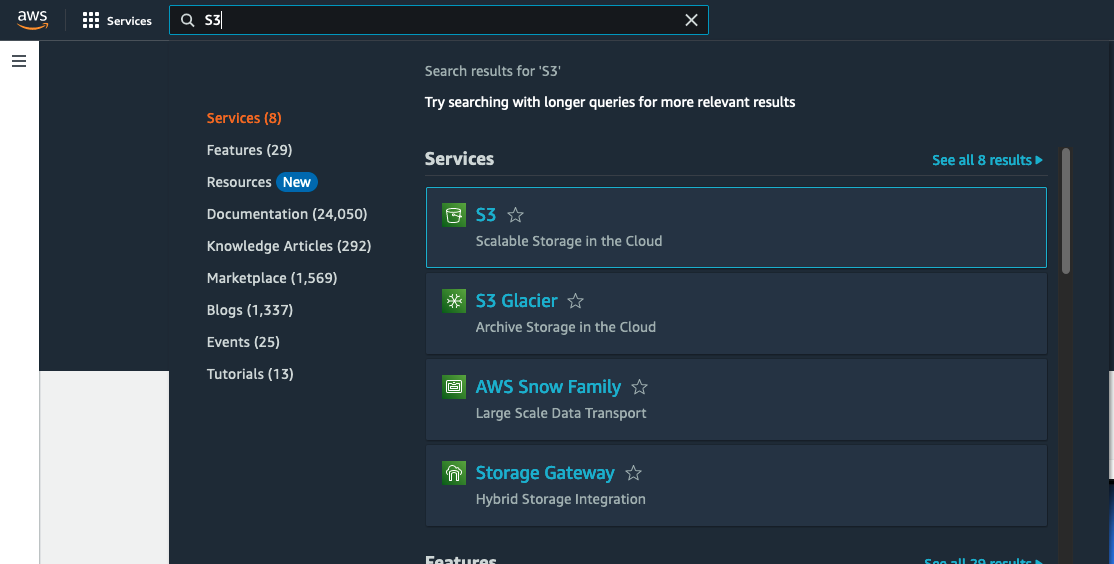
- In the search box, type S3.
-
Click the S3 icon to go to the Amazon S3 console page.
-
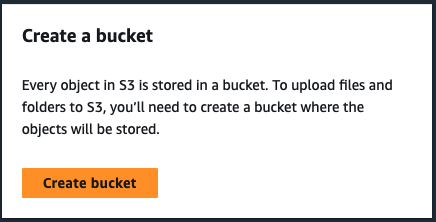
Click the Create Bucket button.
- Give a name to the bucket.
S3 Bucket names must be globally unique, so name your bucket name “media-workshop-source-bucket-” and append your account number and region to create a unique bucket name (media-workshop-source-bucket-{account-number}-{region} (i.e media-workshop-source-bucket-12345789012-us-west-2).
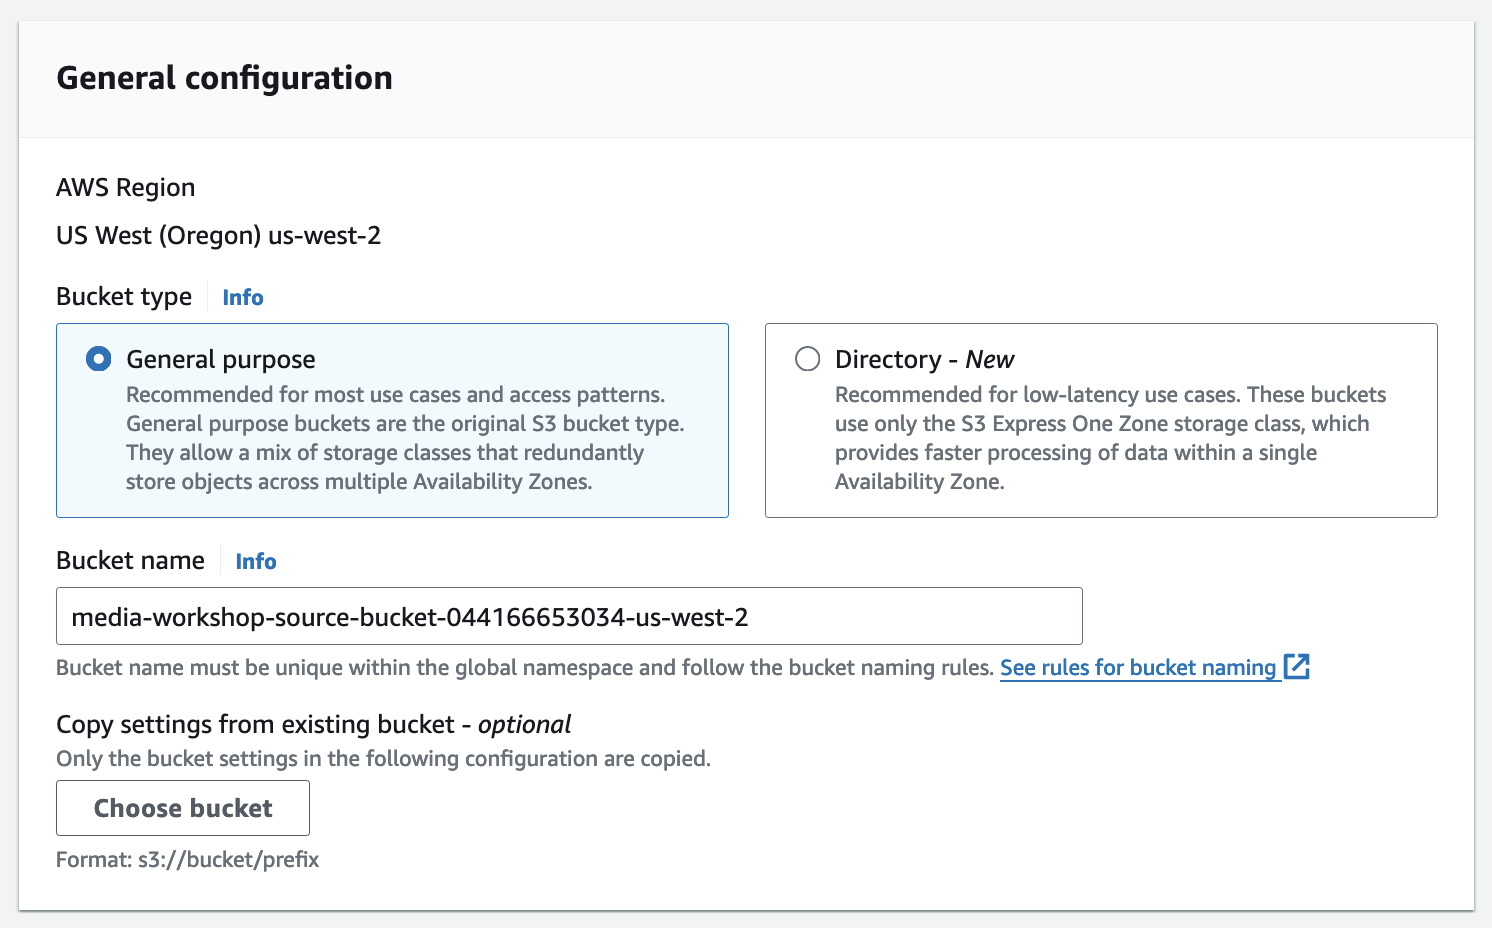

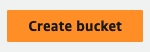
- Leave all other setting as Default and scroll down to find the button Create Bucket. Click the button.
- The bucket will be created.

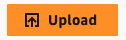
- Now, click the bucket name, and find the Upload button.
-
Before we can select and add a file to upoad. Use the following link to download the sample MP4 files to your local computer. Once downloaded locally you can continue with selected and uploading the MP4 asset into the S3 bucket. Or you may upload your own MP4 files. Upload at least two files.
Right click and download the sample files here:
- Now, click on Add File and select the MP4 file you downloaded.
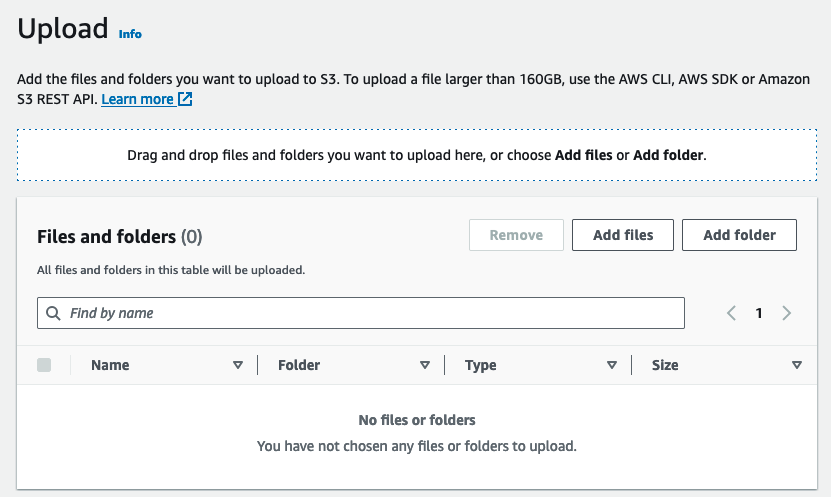

- Wait until the upload finishes. Don’t close the window.

- After the upload is finished, click on each of the files recently uploaded.
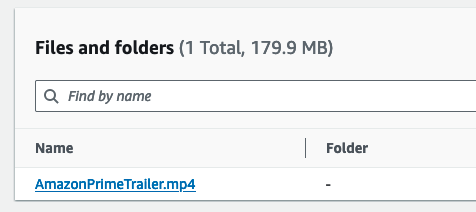
- Take note or copy the object S3 URI. You will need this path for the Linear Distribution Lab. You can always navigate back to S3 console to get this path later if needed.
